Featured Image Courtesy of MMM USA
Master Machine Manufacturing, or MMM USA, is a family-owned and operated machine shop based out of Tulsa, Oklahoma. Master Machine is a rapidly expanding company which has seen serious growth as both a job shop and as an OEM Manufacturer of their own Quick Vise Handles and Piranha Jaws for CNC machinists.
Brothers Geordan and Nace Roberts, along with their mother, Sherry Roberts, are the owners of Master Machine Manufacturing. With Geordan and Nace, we dove into topics like having a growth mindset, working smarter instead of harder, and expanding a “job shop” business while also creating and manufacturing their own OEM products.
Tell us a little about Master Machine’s history and the type of work that your company does.
Geordan: Master Machine has been in business since 1981. Our father, George Roberts, started the business. At the beginning it was a pretty typical manual machine shop operating primarily as a job shop. As Nace and I got older, Dad introduced us to the business and we started working there part-time, eventually transitioning into full-time employees. In 1996, we transitioned to high precision machining with our first CNC machine – a Haas VF1, and we kept adding new CNC machines from there.
Nace and I took over in 2013 after our Dad passed. We had to make the transition from managers and shop foreman to owners and dealing with customers. We now own and operate the business with our mother, Sherry Roberts.
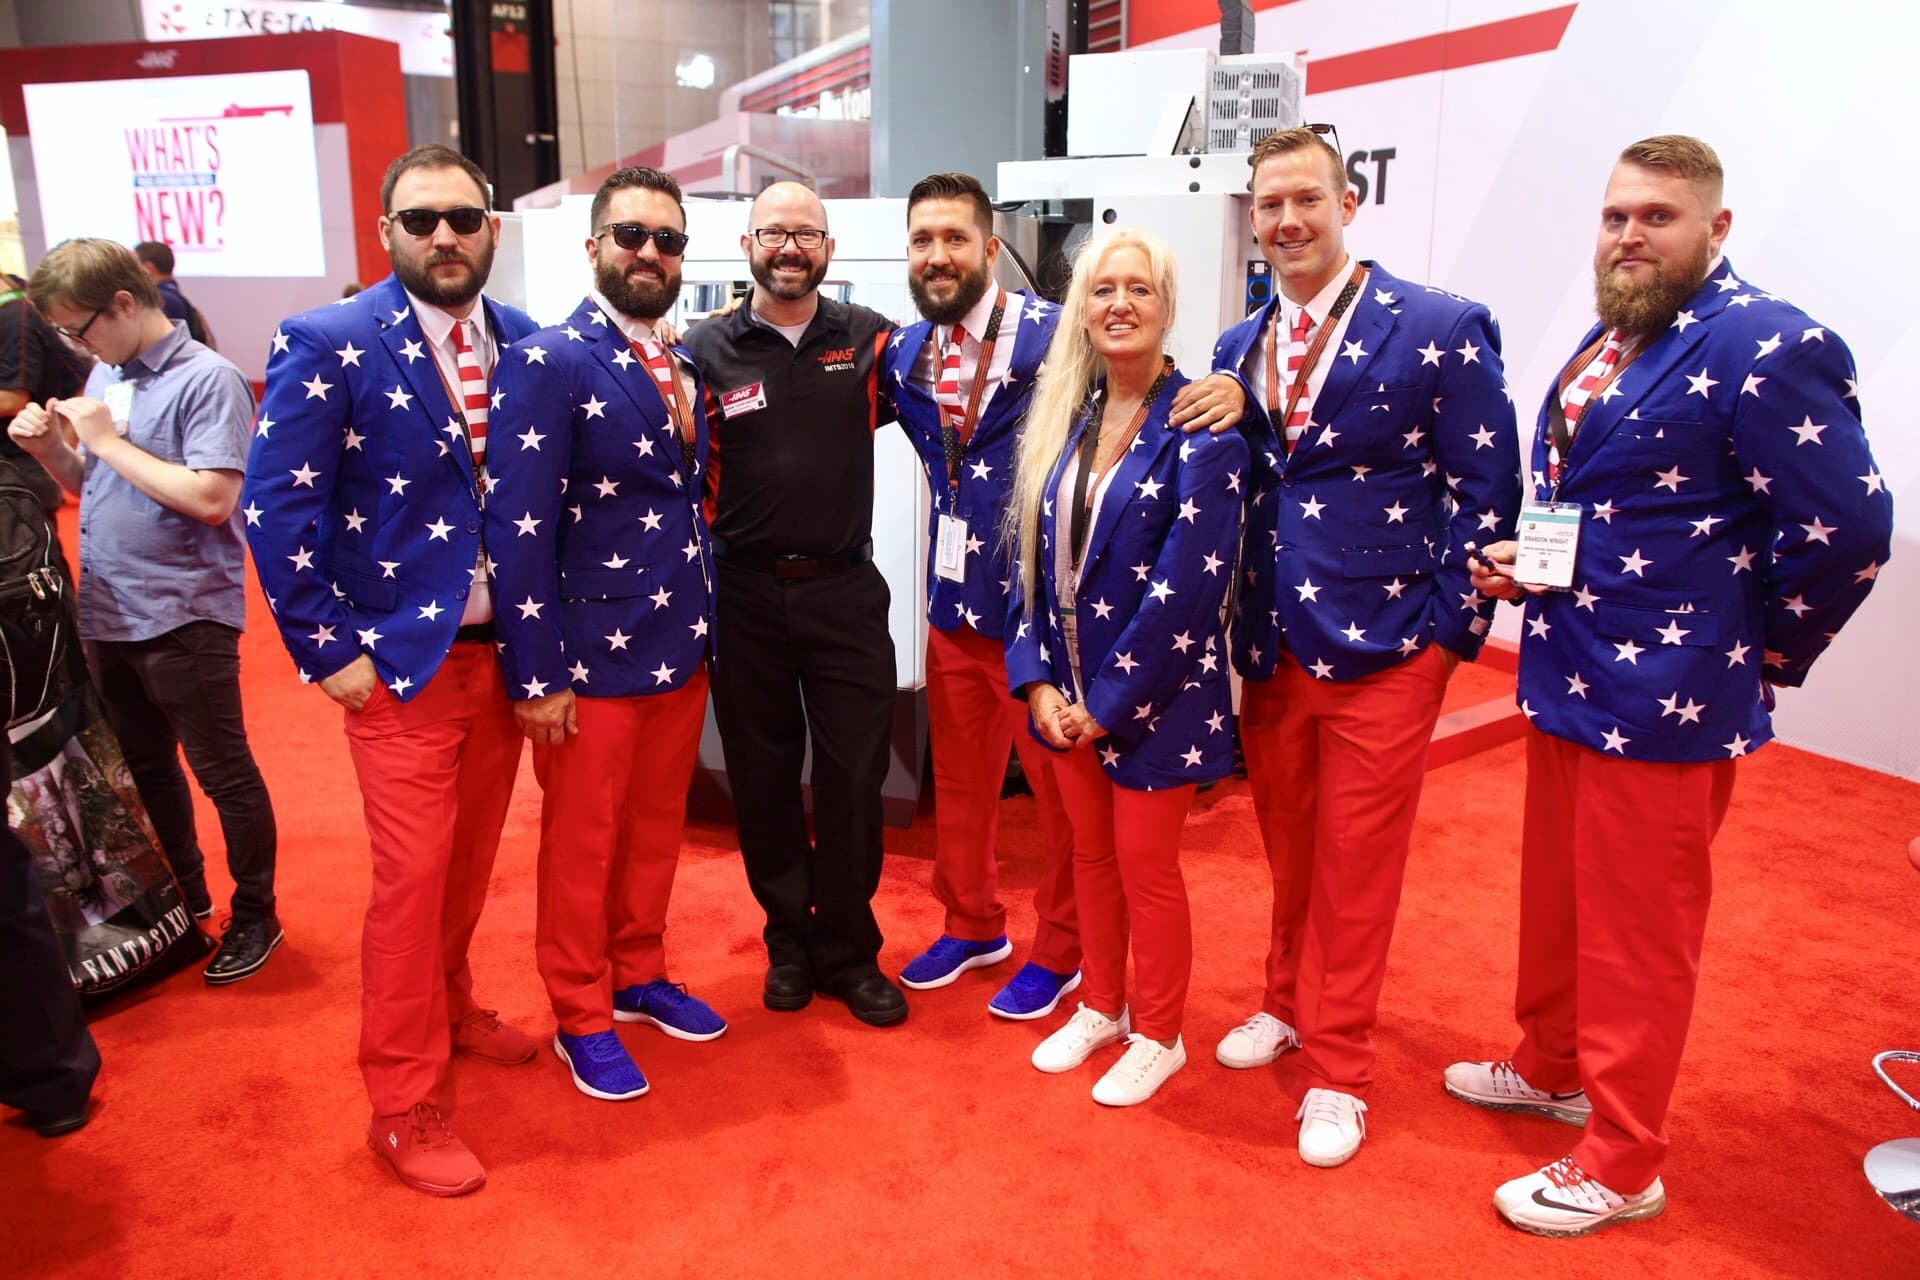
Geordan, Nace, Sherry, and the rest of the MMM USA team at IMTS with Mark Terryberry from Haas Automation Photo Courtesy of: MMM USA
At its core, Master Machine is a job shop that does a lot of high precision machining. We work on things like lab test equipment, parts for the aerospace industry, and a lot of parts for the oil and gas industry. More medical jobs and odd things like parts for off-road racing have started to come in recently as well. One cool thing about us is that we have the unique ability to operate as a job shop, but also to design and manufacture our own products. Many of your readers have probably seen some of our vise handles and jaws in use online, especially on Instagram.
Your MMM USA Jaws and Vise Handles have become extremely popular in the CNC machining community. Where did you get the idea for that product?
Geordan: We had been using other brands of vise handles and jaws for a long time and got tired of buying products that were cheap and didn’t work well. We had this idea for a while, so in 2013 when things started to slow down a little bit, we had an opportunity to spend some time and design our own products. It was just about 2 years ago that we designed our first vise handle and Piranha Jaws. After using social media, showing them off at IMTS and other Industrial Trade Shows, they really started to take off. Our vise handles and jaws have really started to become a business of their own over the past couple of years.

Photo Courtesy of: MMM USA
Can you breakdown the shop for us? What are you working with in terms of shop size, machine capabilities, and software?
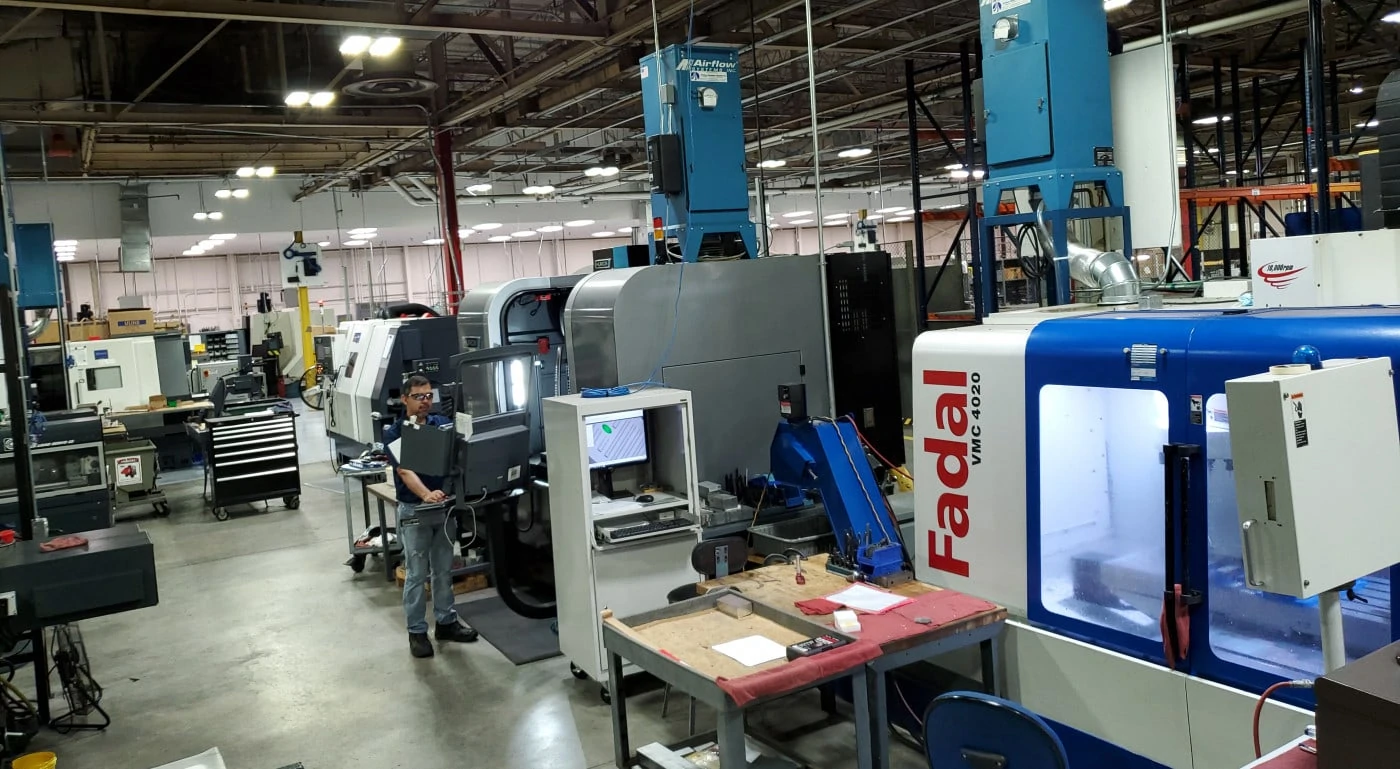
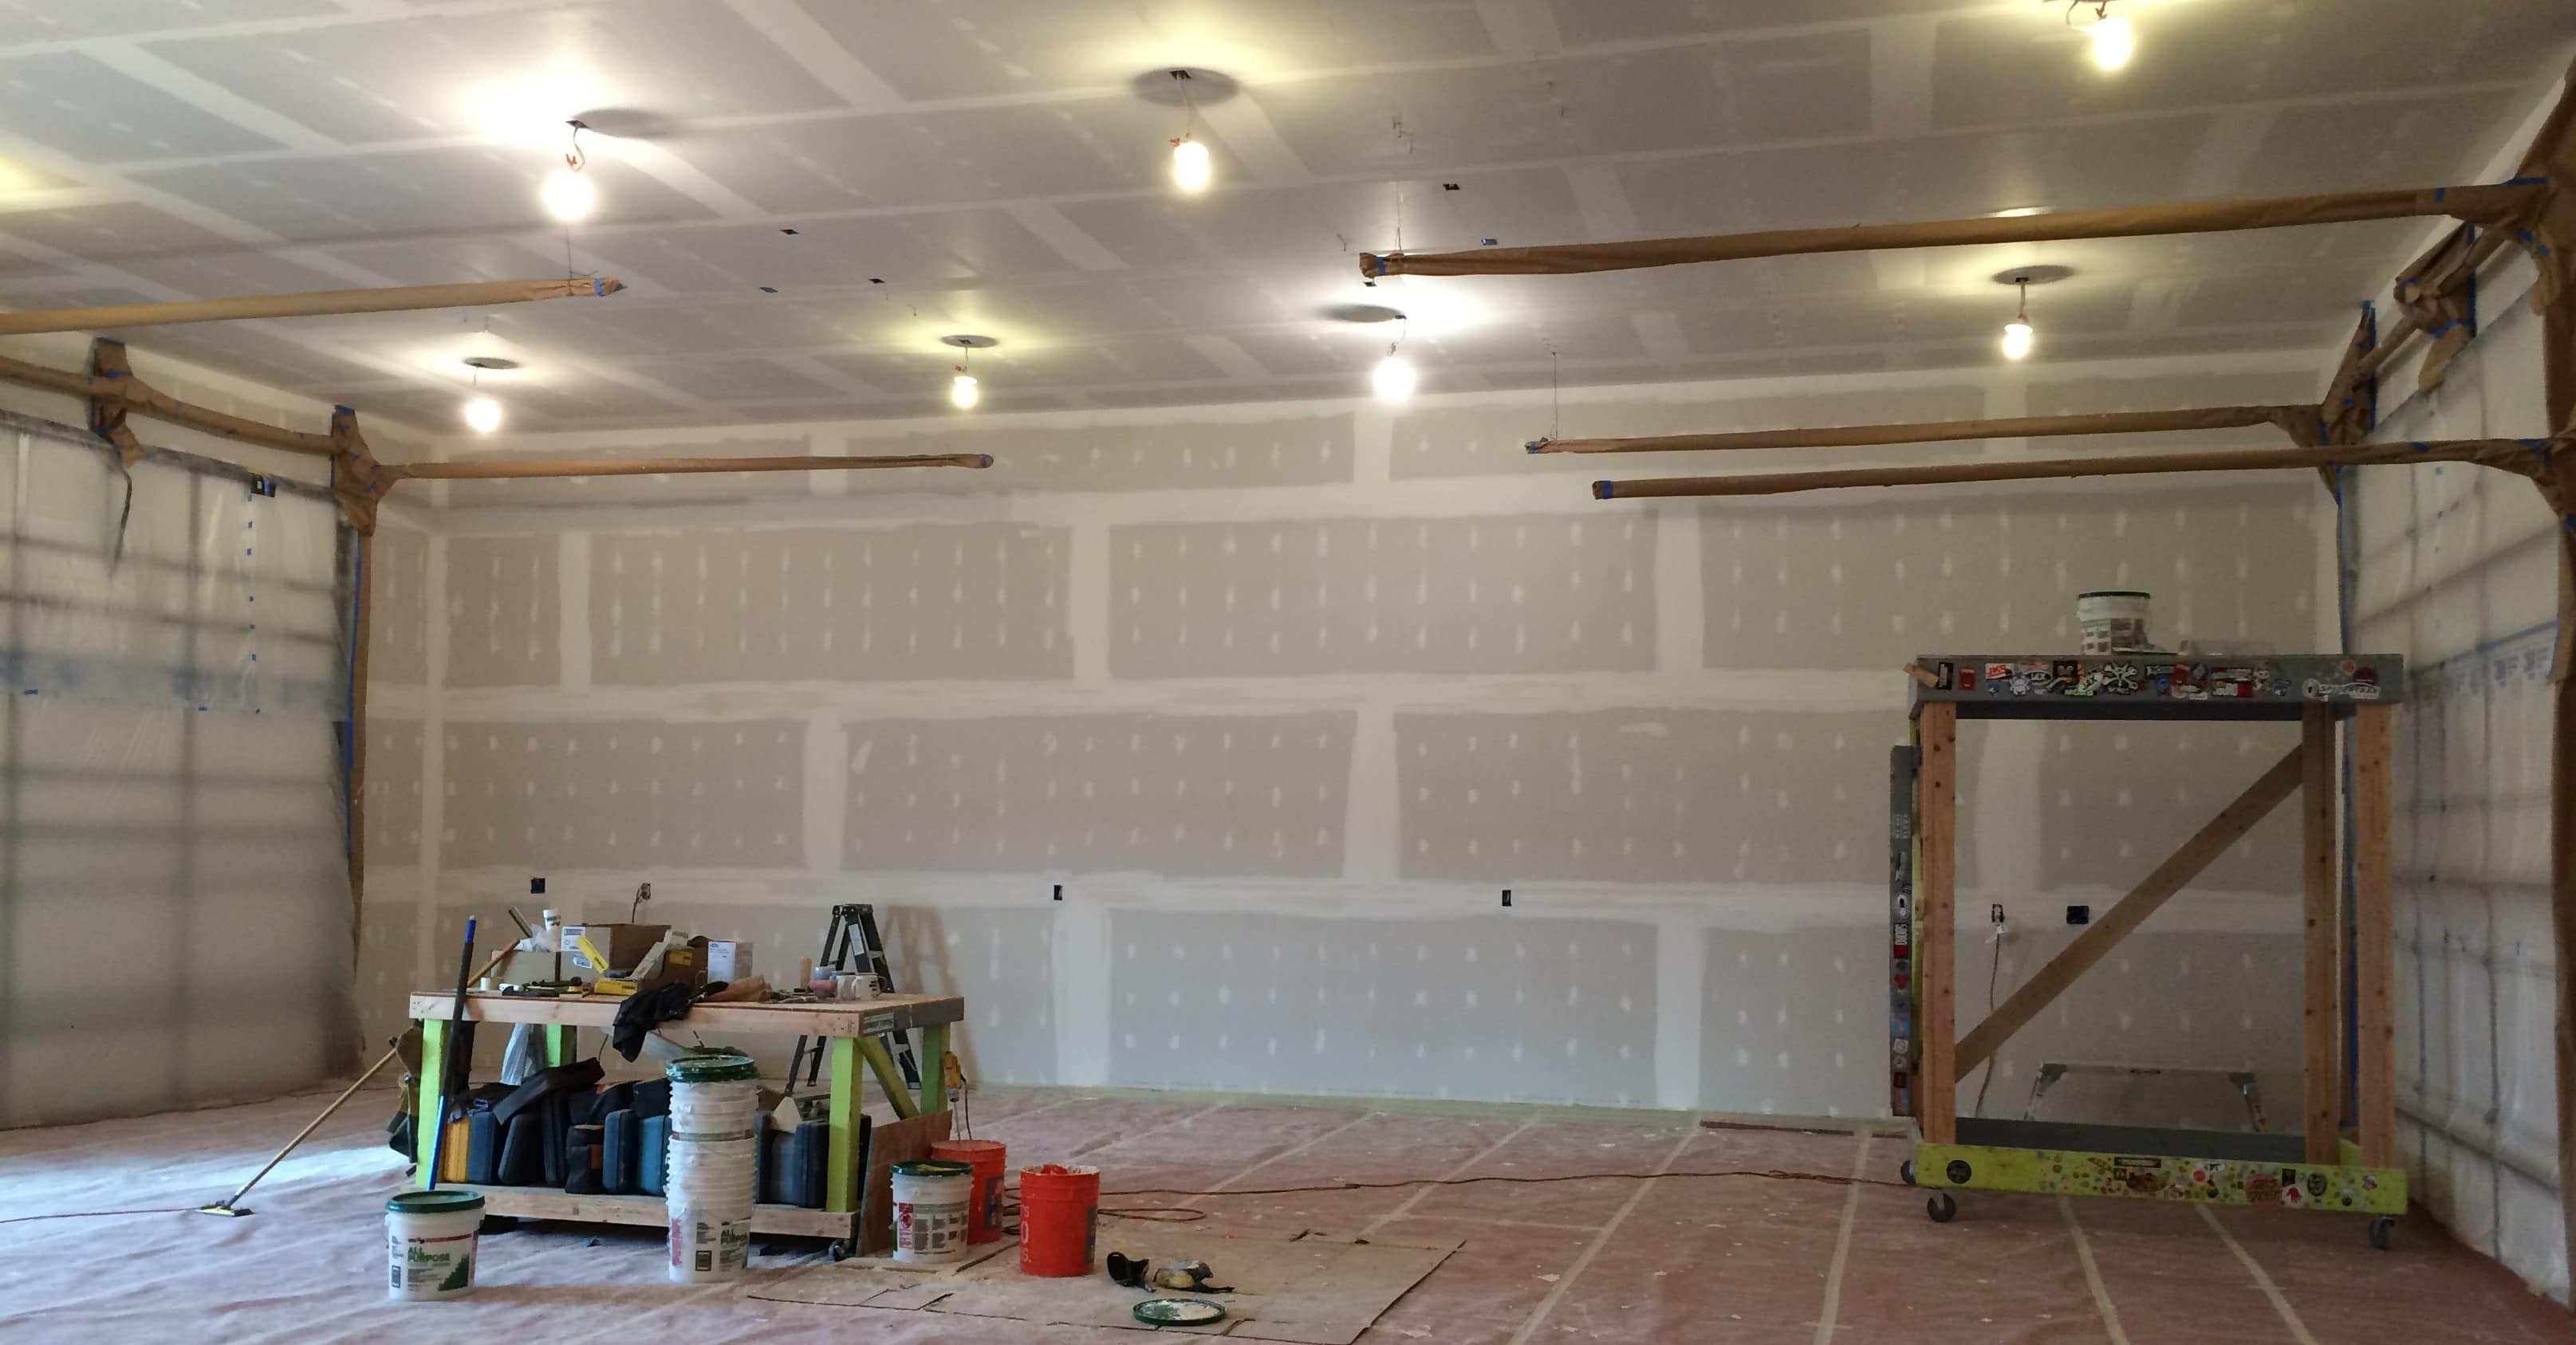
Nace: We operate as a 100% debt-free company, so we grow as we need to. We have been at our current location for 10 years with 5-7 different additions along the way. Our shop is now spread across 10,300 square feet.
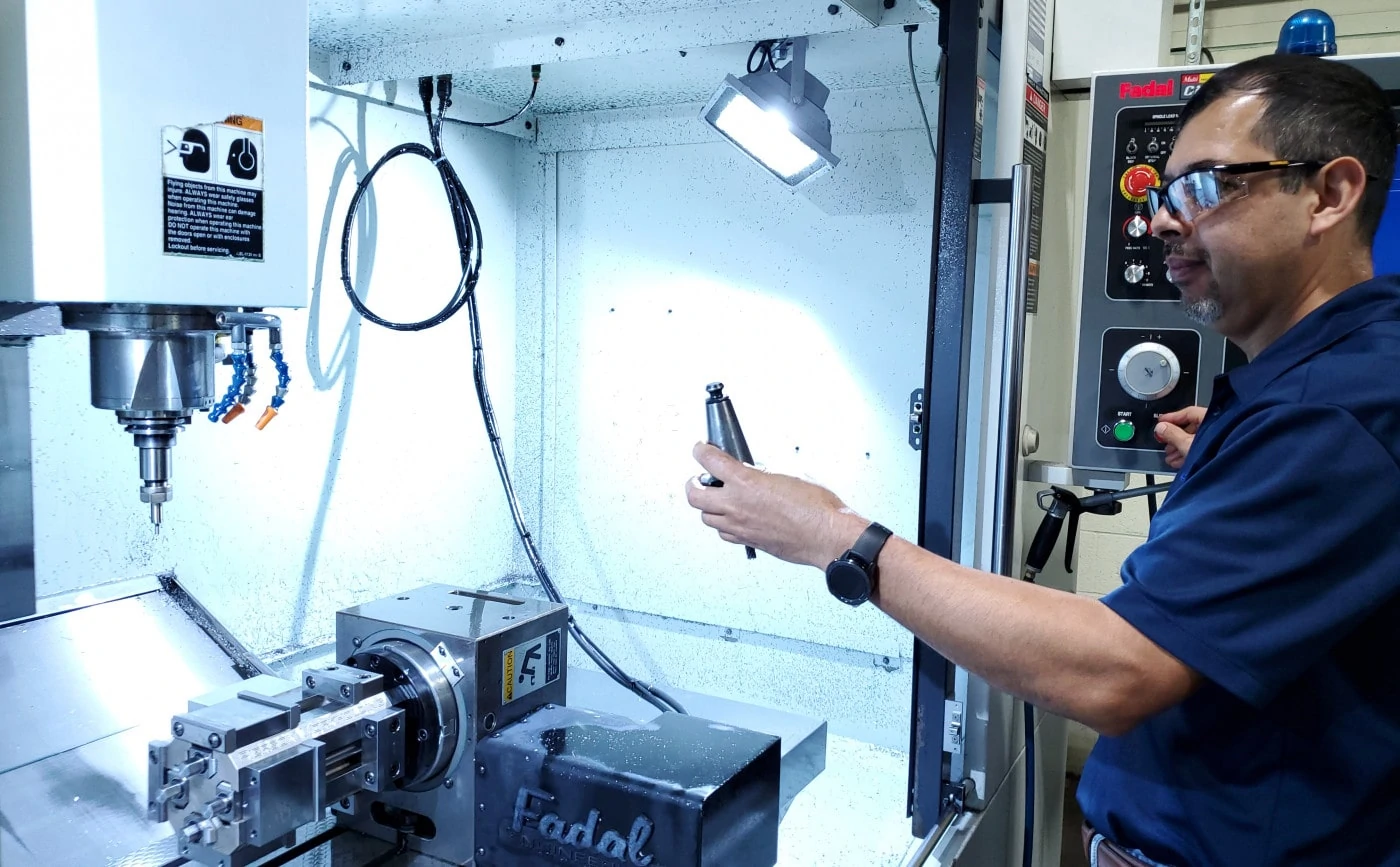
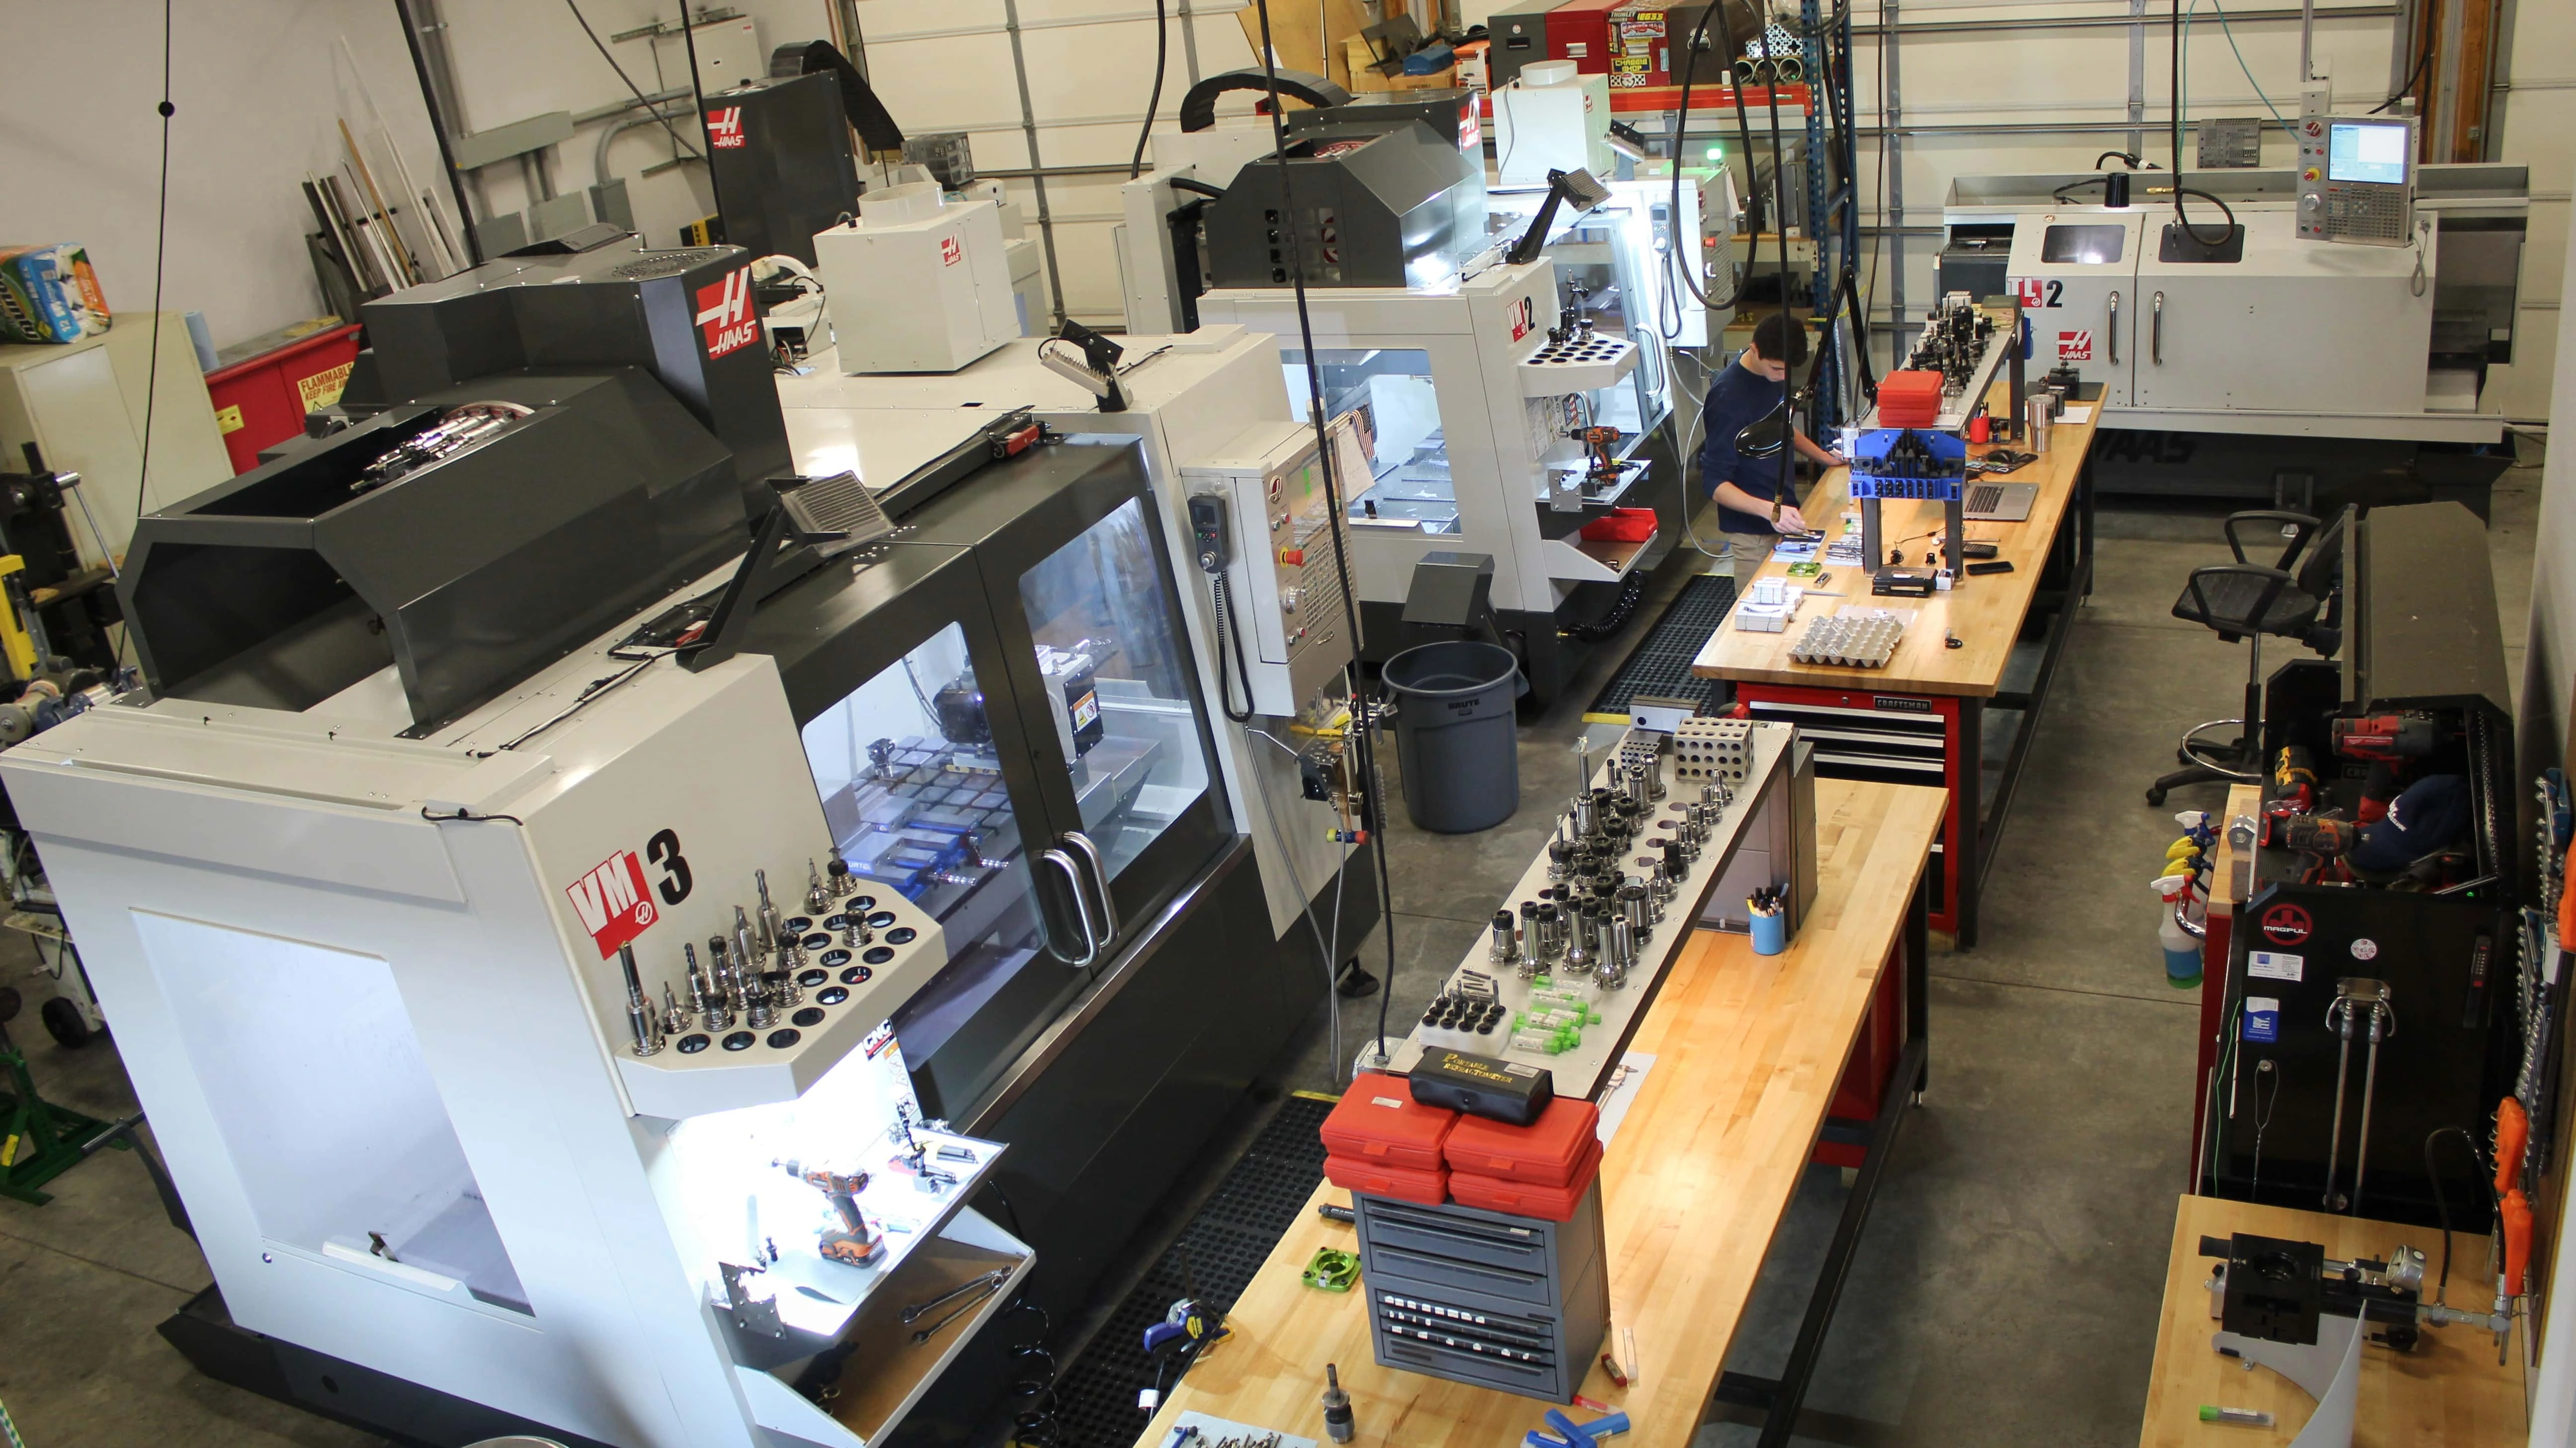
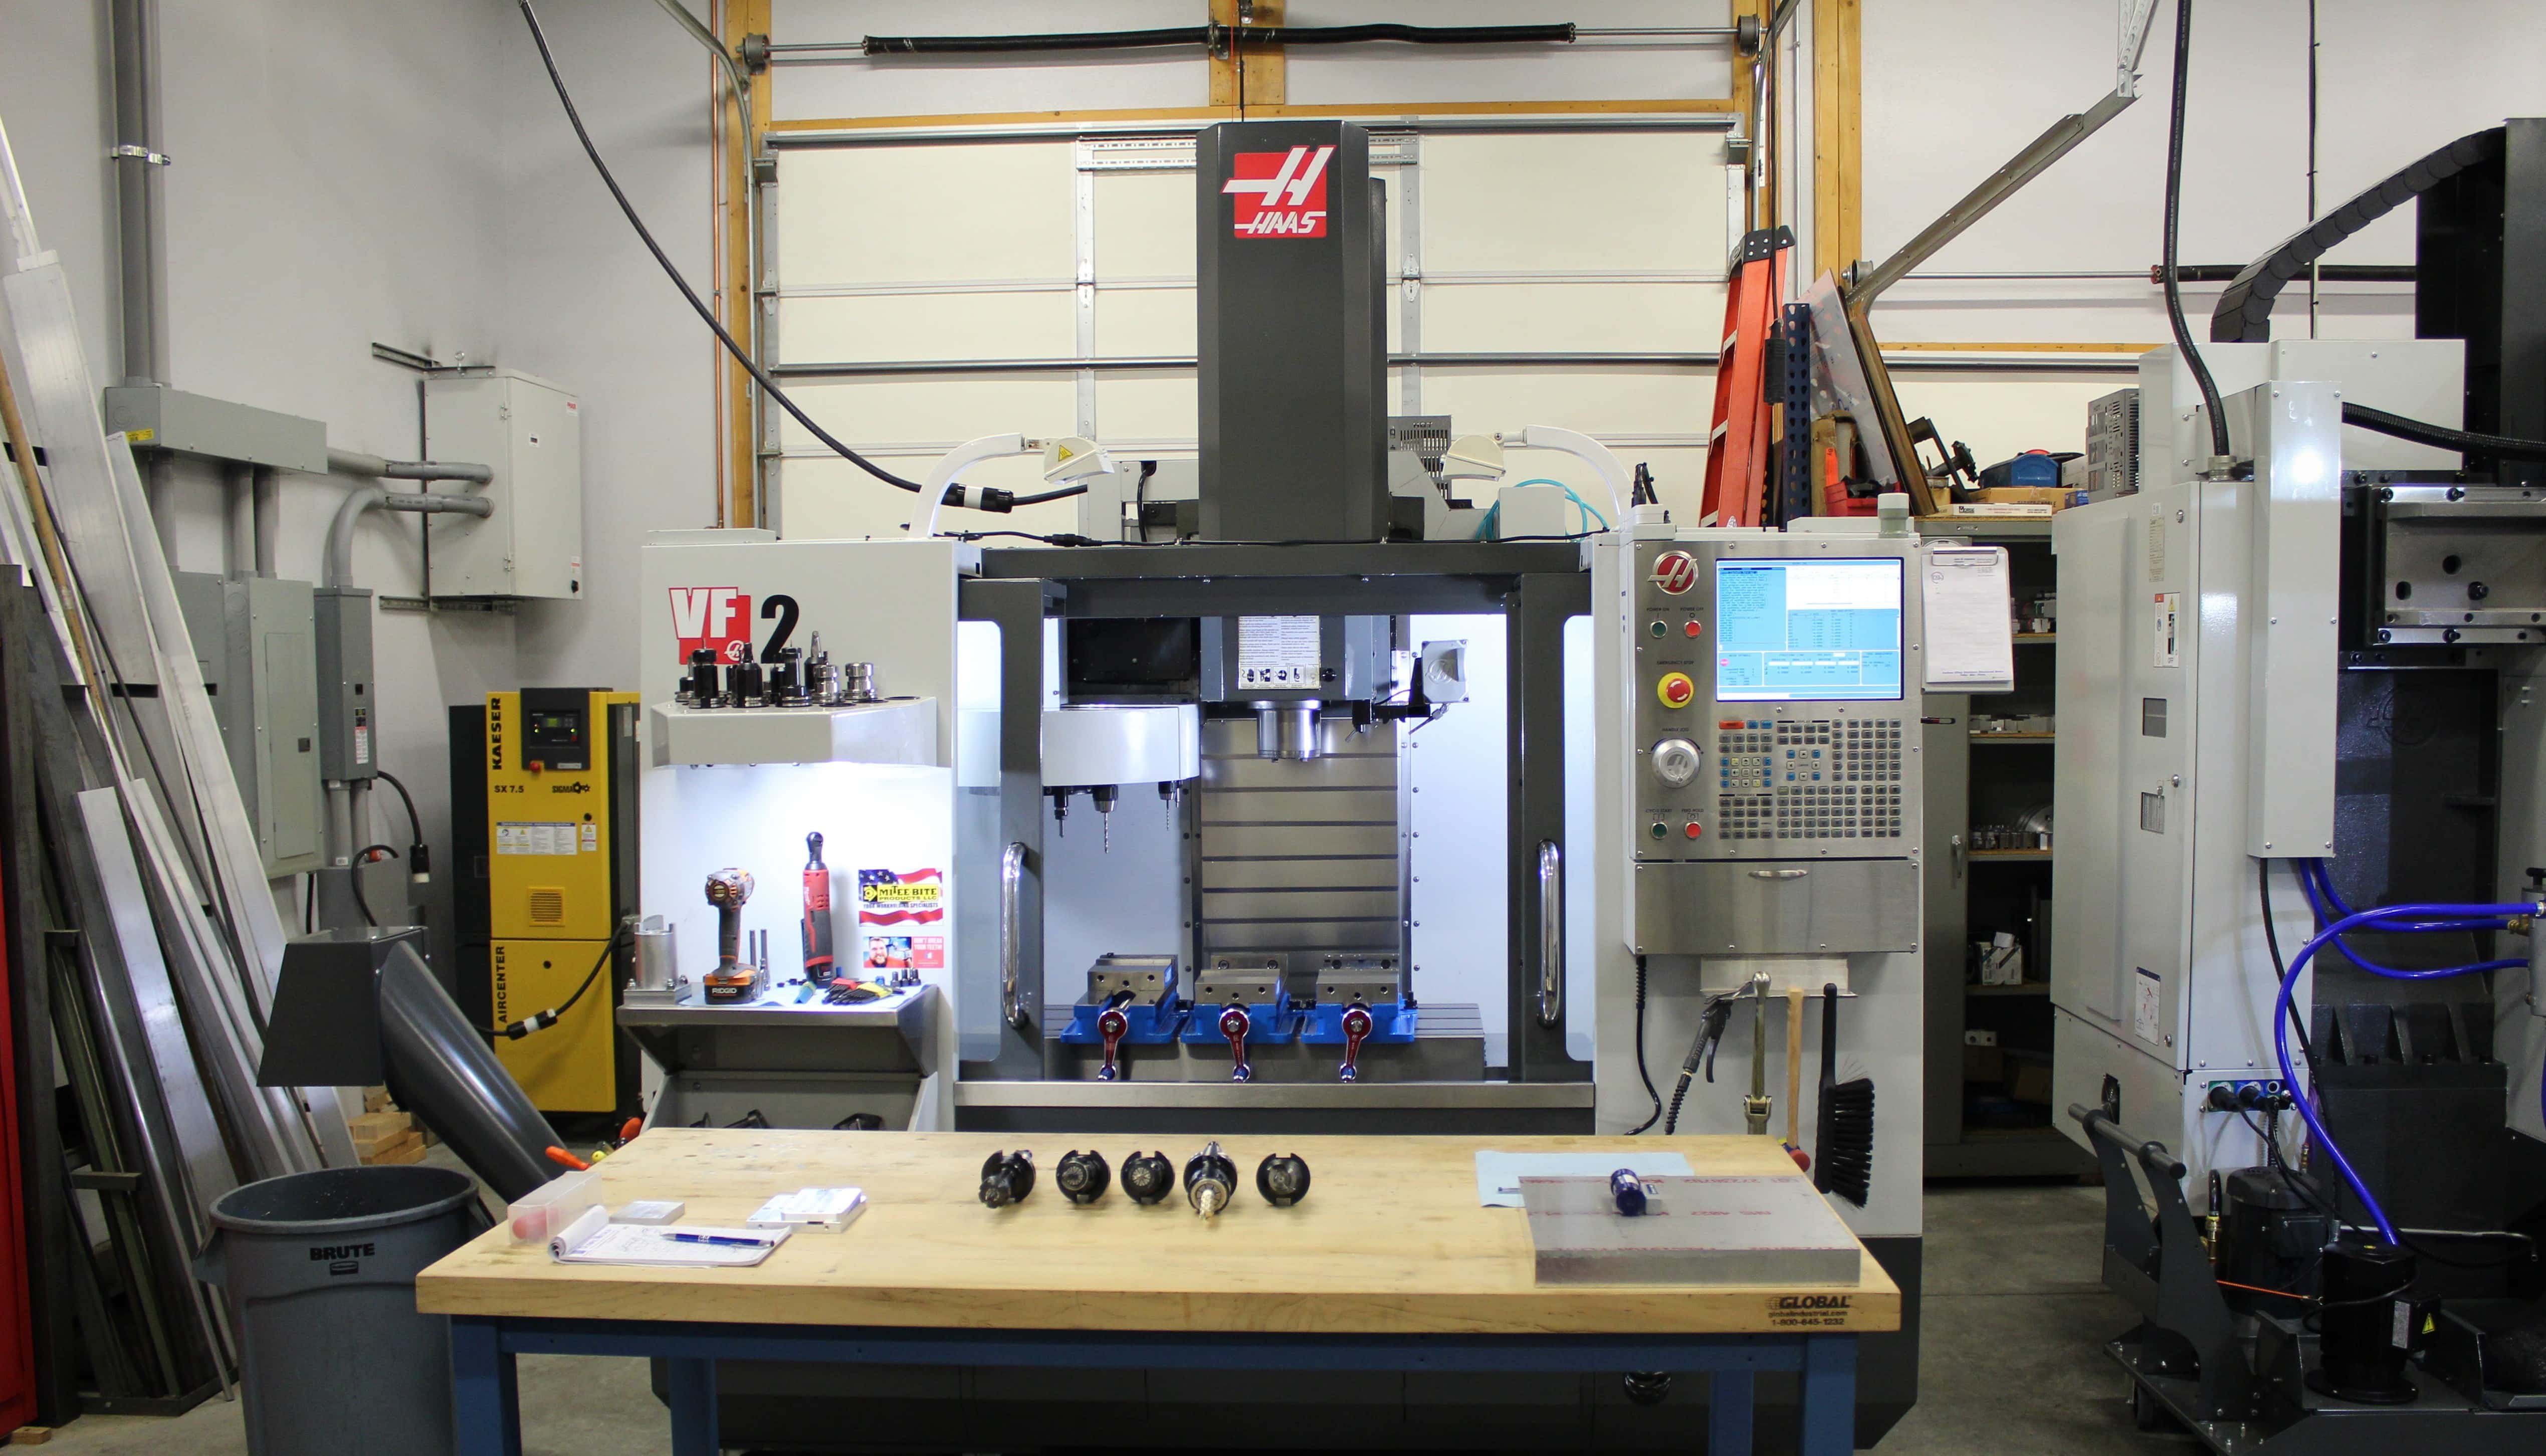
We currently have 18 CNC milling machines, including our original machine, the 1996 Haas VF1. We have been growing very fast over the past 10 years. From 2004-2007, we only had 3 CNC mills, and we have acquired the other 15 machines all in the last decade. We like buying from companies that make their products right here in the USA, so we have grown our shop through the Haas line of machines. Almost everything we own here is made by Haas Automation. In fact, our Haas VF4 and our 5-axis Haas UMC750 are some of our biggest mills in the shop right now.
Geordan: We also have other capabilities in the shop. We can do welding, painting, surface grinding, and we have a nice setup of bar feeders and lathes. For software, we use a lot of BOBCAD V31 for our 4th and 5th axis mill programming and all of our lathe programming, Nace uses a lot of Autodesk Fusion 360 for the mill side of things.
For inspection, we have many inspection tools, including a Fowler Z-Cat CMM that can measure down to +/- .0002″ for our most high precision jobs.
How did you guys first get involved in manufacturing?
Geordan: I started machining with my Dad at age 13, and got into it full-time after high school, but was not yet fully committed. At this point, I learned manual and CNC machining entirely through working with my Dad and my Uncle. It wasn’t until my Uncle, the main machinist in our shop, decided to split off and start his own shop that I was faced with a more urgent need to commit to the family business. So I decided to make manufacturing a full time career move and started learning fixturing, programming, and everything I needed to know to be successful. We still have a great relationship with my uncle and his shop and I wouldn’t be where I am today without him stepping out on his own.
Nace: I didn’t know what I wanted to do with my life. I just knew I wanted to make money, and a lot of money. I was actually in college for radiology and physical therapy, but I didn’t like the layout of the career path. I could not convince myself to wait to start making real money until I had finished a long education and received a license 6-8 years down the road.
Instead of physical therapy and radiology, I started taking more computer engineering courses and learned a lot about programming and technology. After my uncle left, I told my Dad I would like to be a bigger part of the business and take what I knew from my computer programming classes and apply it to the shop. Within a year I had gone from never running a CNC to fully doing everything on the machine. My computer programming skills definitely helped me make the transition into CNC machining and programming.
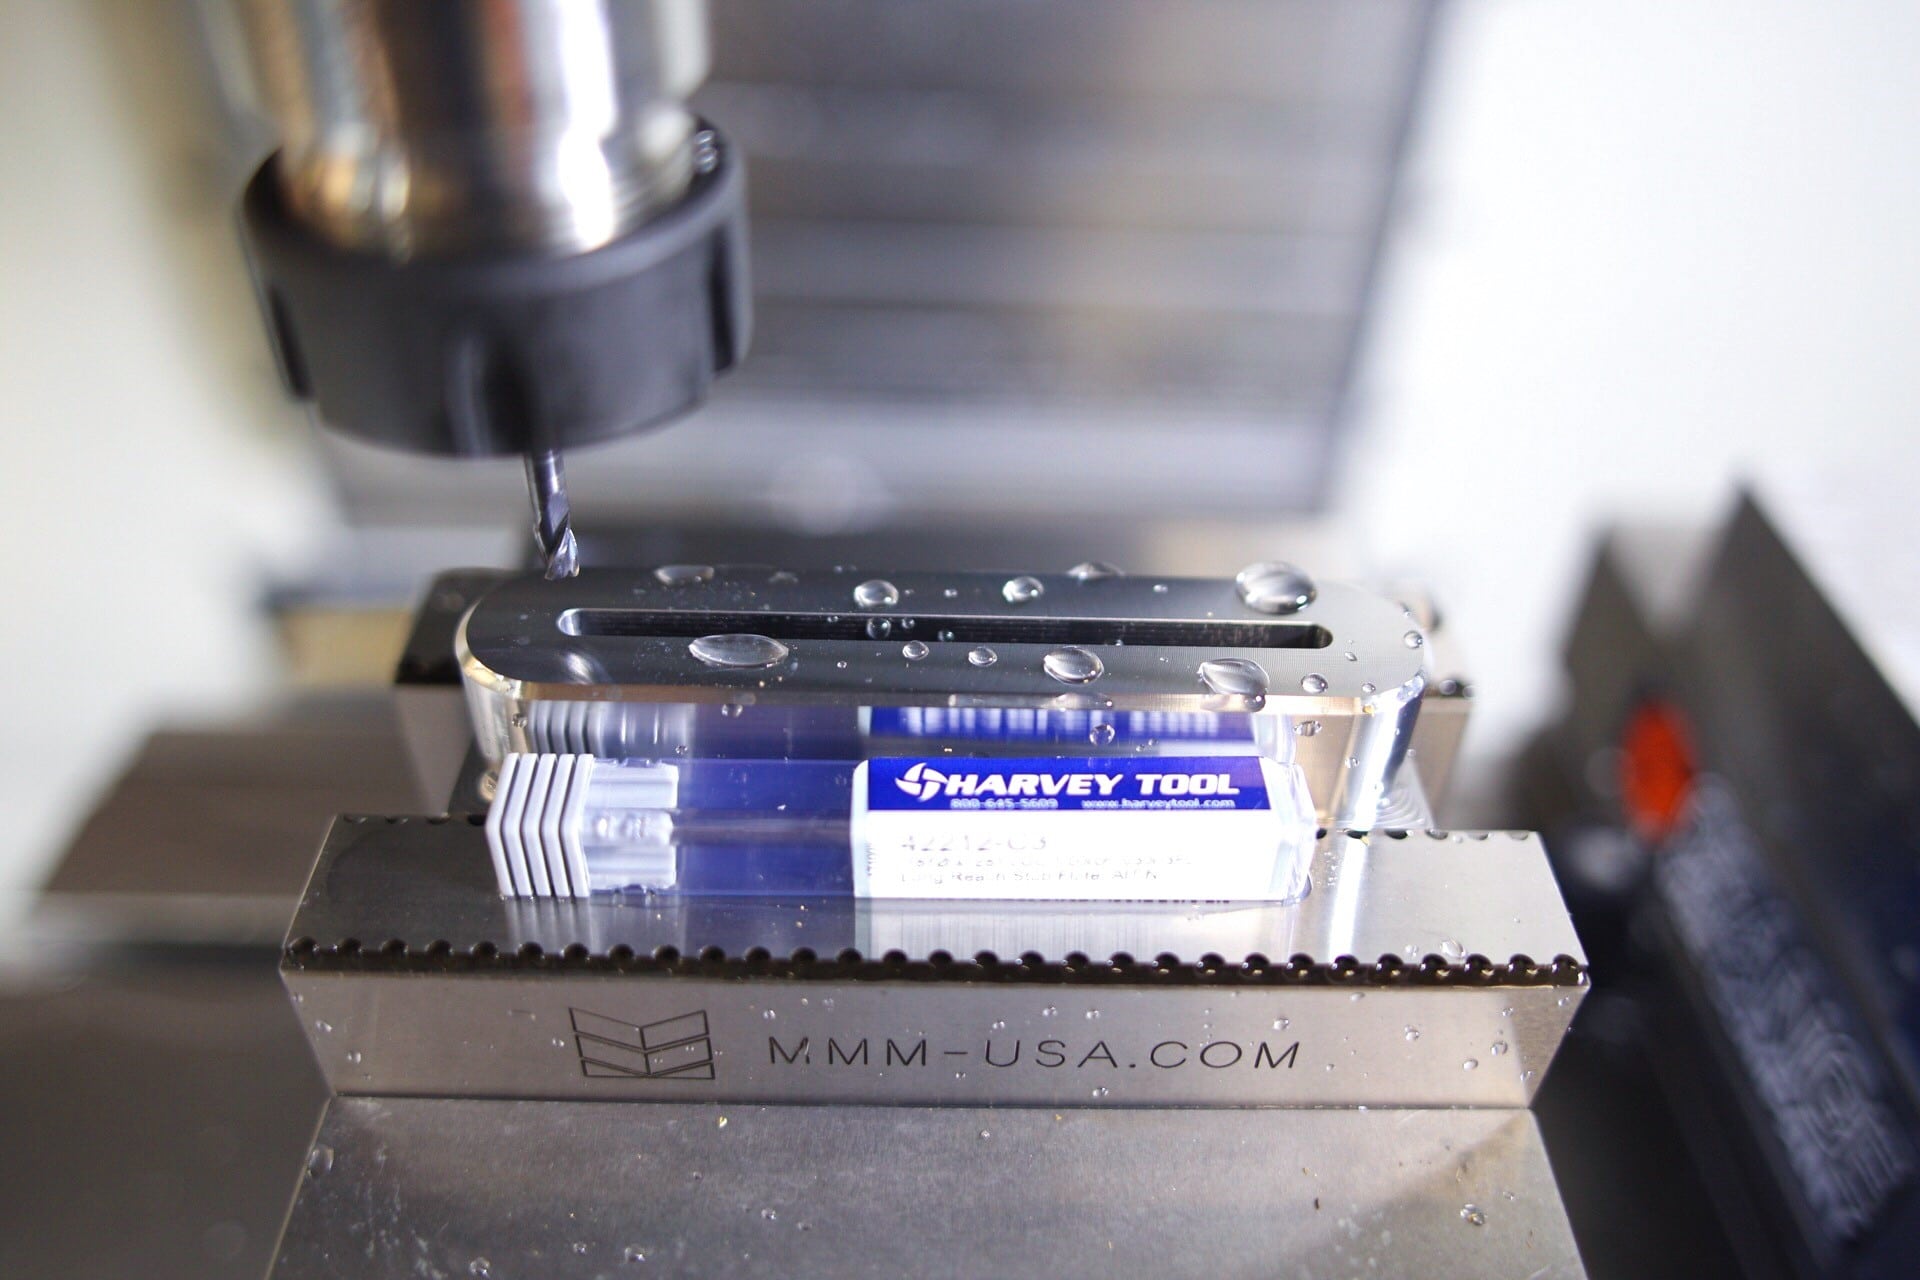
Photo Courtesy of: MMM USA
As a second generation owner of a family business, how do you stick to those family values while also rapidly expanding the business?
Nace: We have grown a lot with our systems and technology, but our culture has also changed since we took over. We educated ourselves on workplace culture and maintaining a positive work environment. When we were kids, Dad worked probably 100 hours a week and we were always fortunate that he was able to provide us with food, clothes, and a roof over our heads. But no matter how hard he worked, he can’t replace the time with us that was spent working.
One of the major improvements we focused on was trying to maintain repeatability. Everything in the shop is labeled in boxes and readily available for our employees. Ultimately, we want to do everything we can to make it easy as possible for our employees. We want to work smarter, not harder, so there is more time for our employees to spend with family and not spend their lives in the shop.
As owners, we often need to work odd hours of the day to maintain the business, but we do it in a way that makes sure we have our family time. There are many times where we will go home, have dinner and hang out with the family, and wait until they are all sleeping to go back to work until 2 or 3 a.m.. We will get back home later that morning to sleep a little and have breakfast with the family and send them on their way before heading back in to the shop.
Working with family, we have to remind ourselves that business is business, and outside of business it is all about family. It can be tough to differentiate those two, but you have to. We went to business counseling and learned how to respect family members and build up the team while also making tough business decisions. We have our tough moments at the shop, but at the end of the day this is still your family. You can’t carry any frustration with other family members outside of those shop doors and into the home.
Photo Courtesy of: MMM USA
What are some other things you have done to maintain your “Work Smarter, Not Harder” mantra?
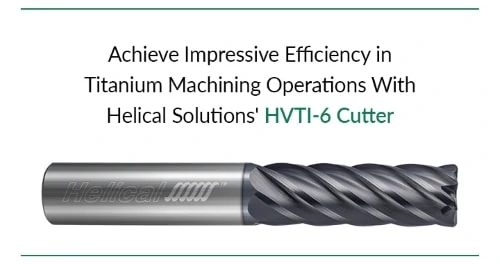
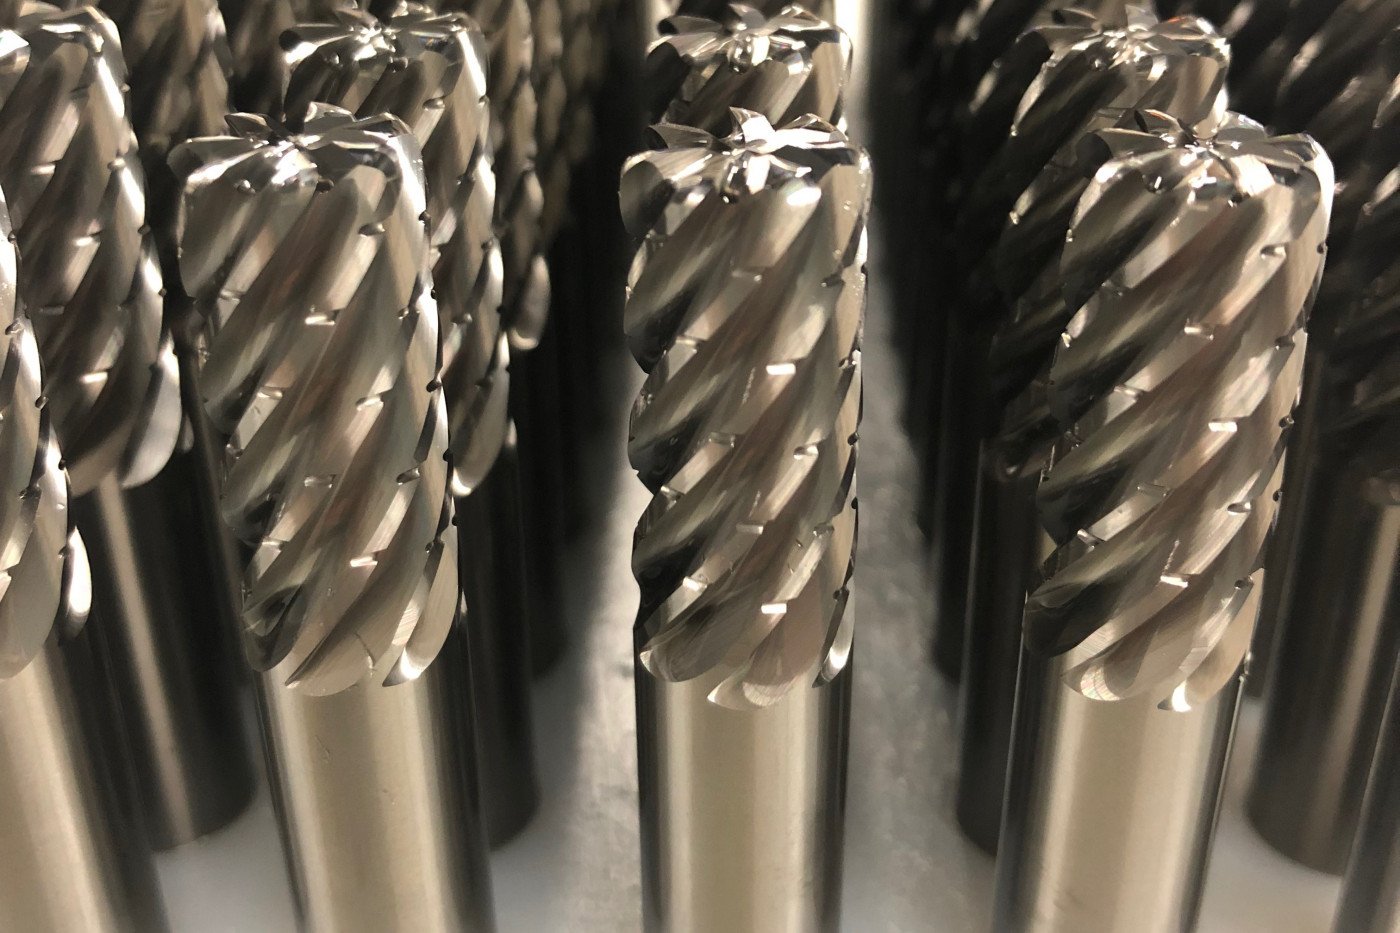
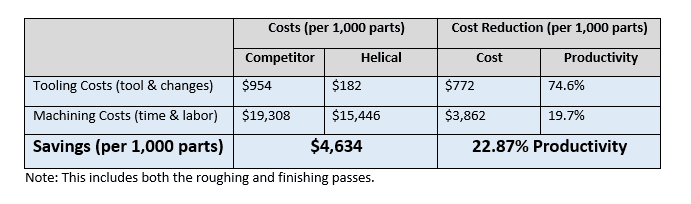
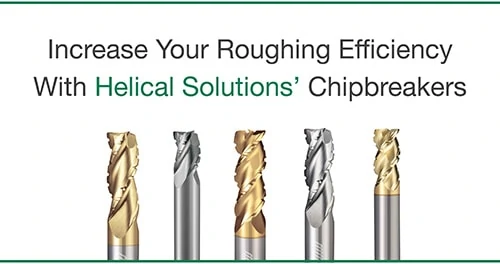
Geordan: One of the first things we did was look into getting more tooling and better tooling. We paid more for tools that can push harder and faster, and last longer. When Dad ran the shop, he would just buy whatever he thought we could afford and still get the job done. Now as CNC technology and advanced CAM systems have improved, the need for quality tooling is extremely important. Finding the best and most reliable tools helped take our shop to the next level and that is where Harvey Tool and Helical come into play.
Nace: We like to be the “purple cow” of the industry, differentiating ourselves in any way that we can. We strive to maintain a certain level of quality across our website, our Instagram page, our products, and the entire business as a whole. We are proud to support products made in the USA and keep supporting American manufacturing to help keep the business thriving in our shop and others. We are always happy to support companies like Haas, Harvey Tool, Helical, and many others who are doing it all right here in the USA.
What are some of your “go-to” Harvey Tool and Helical products?
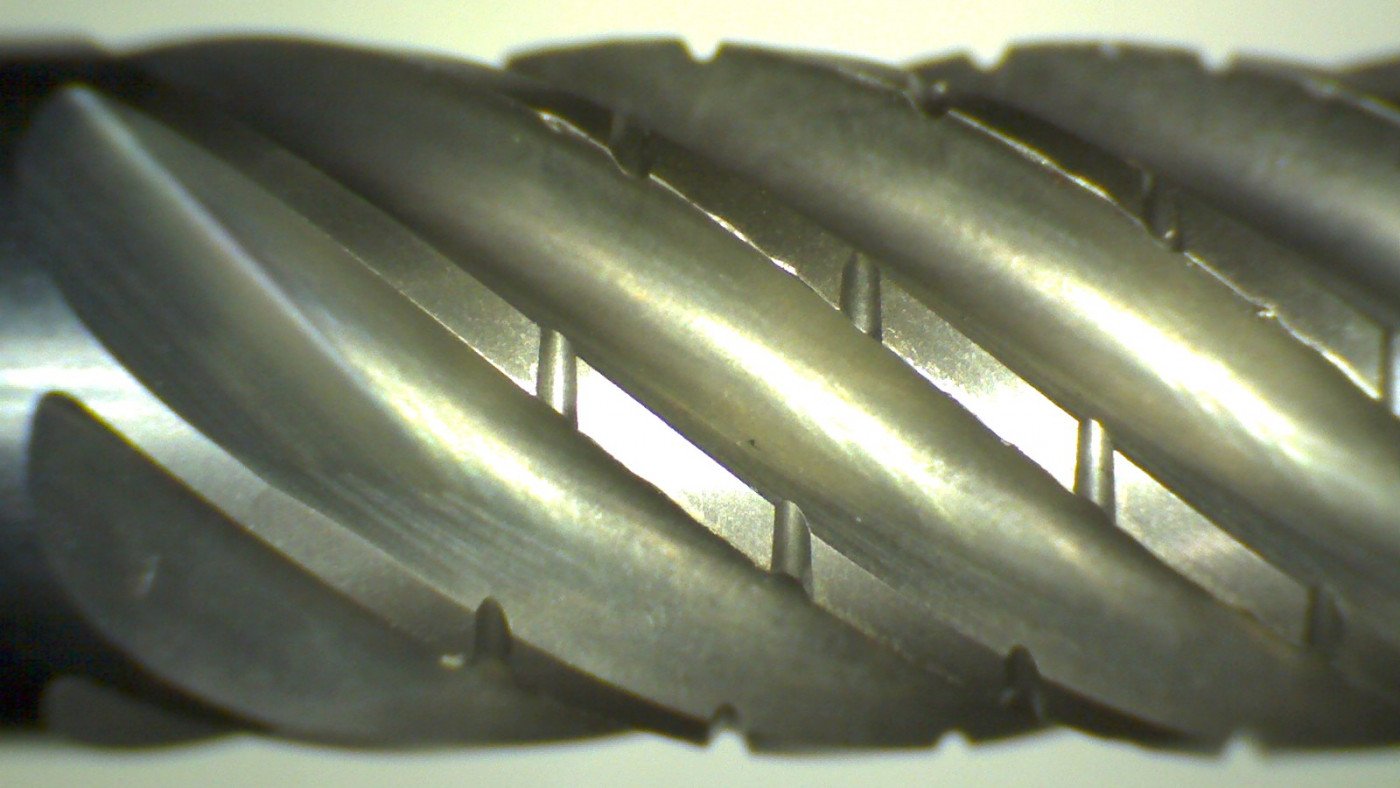
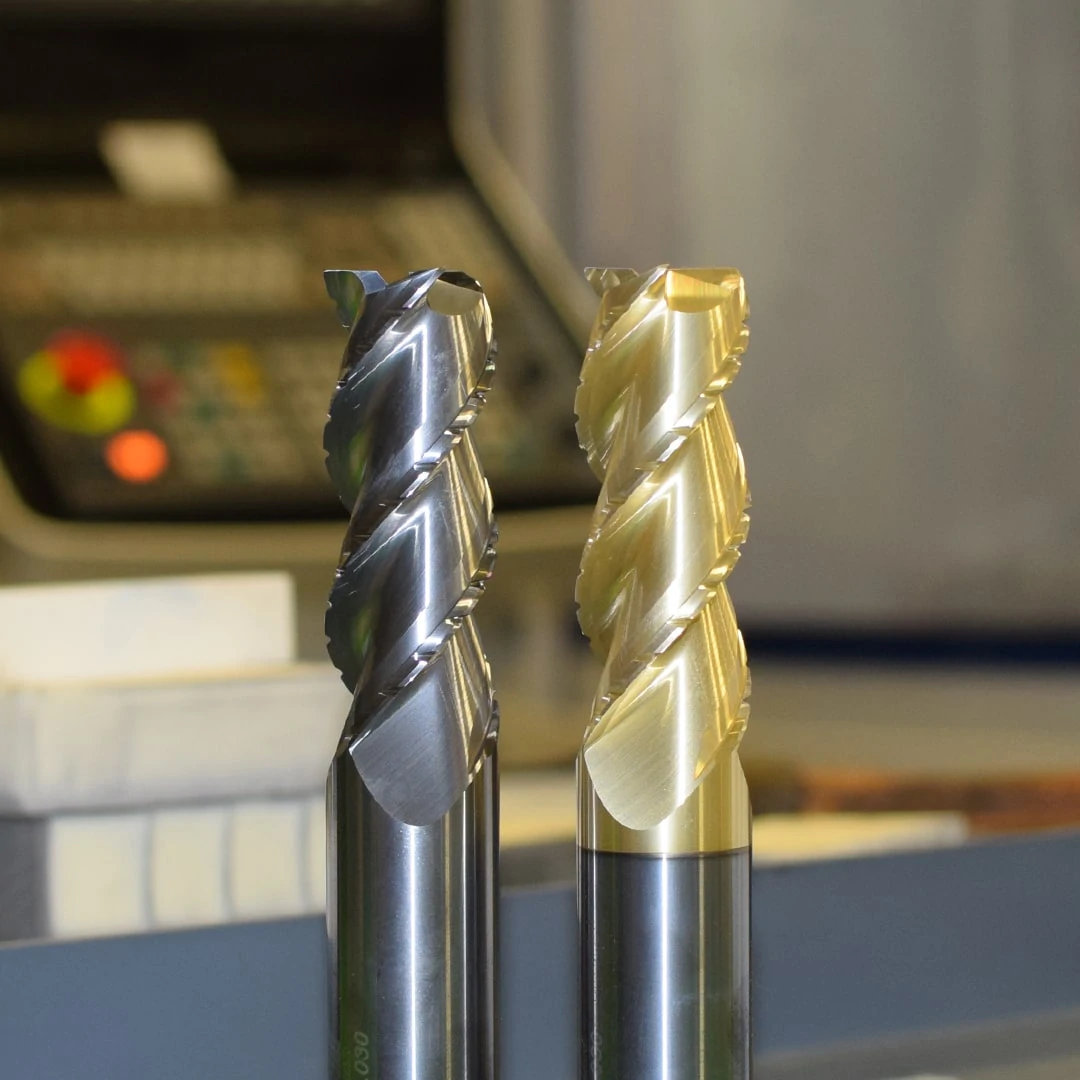
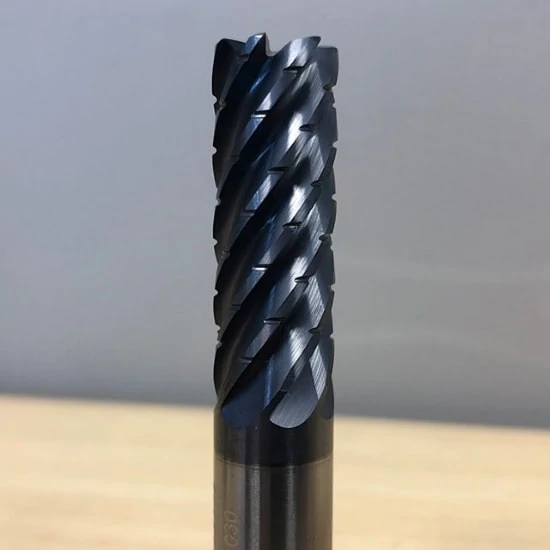
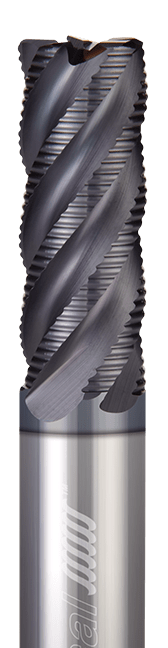
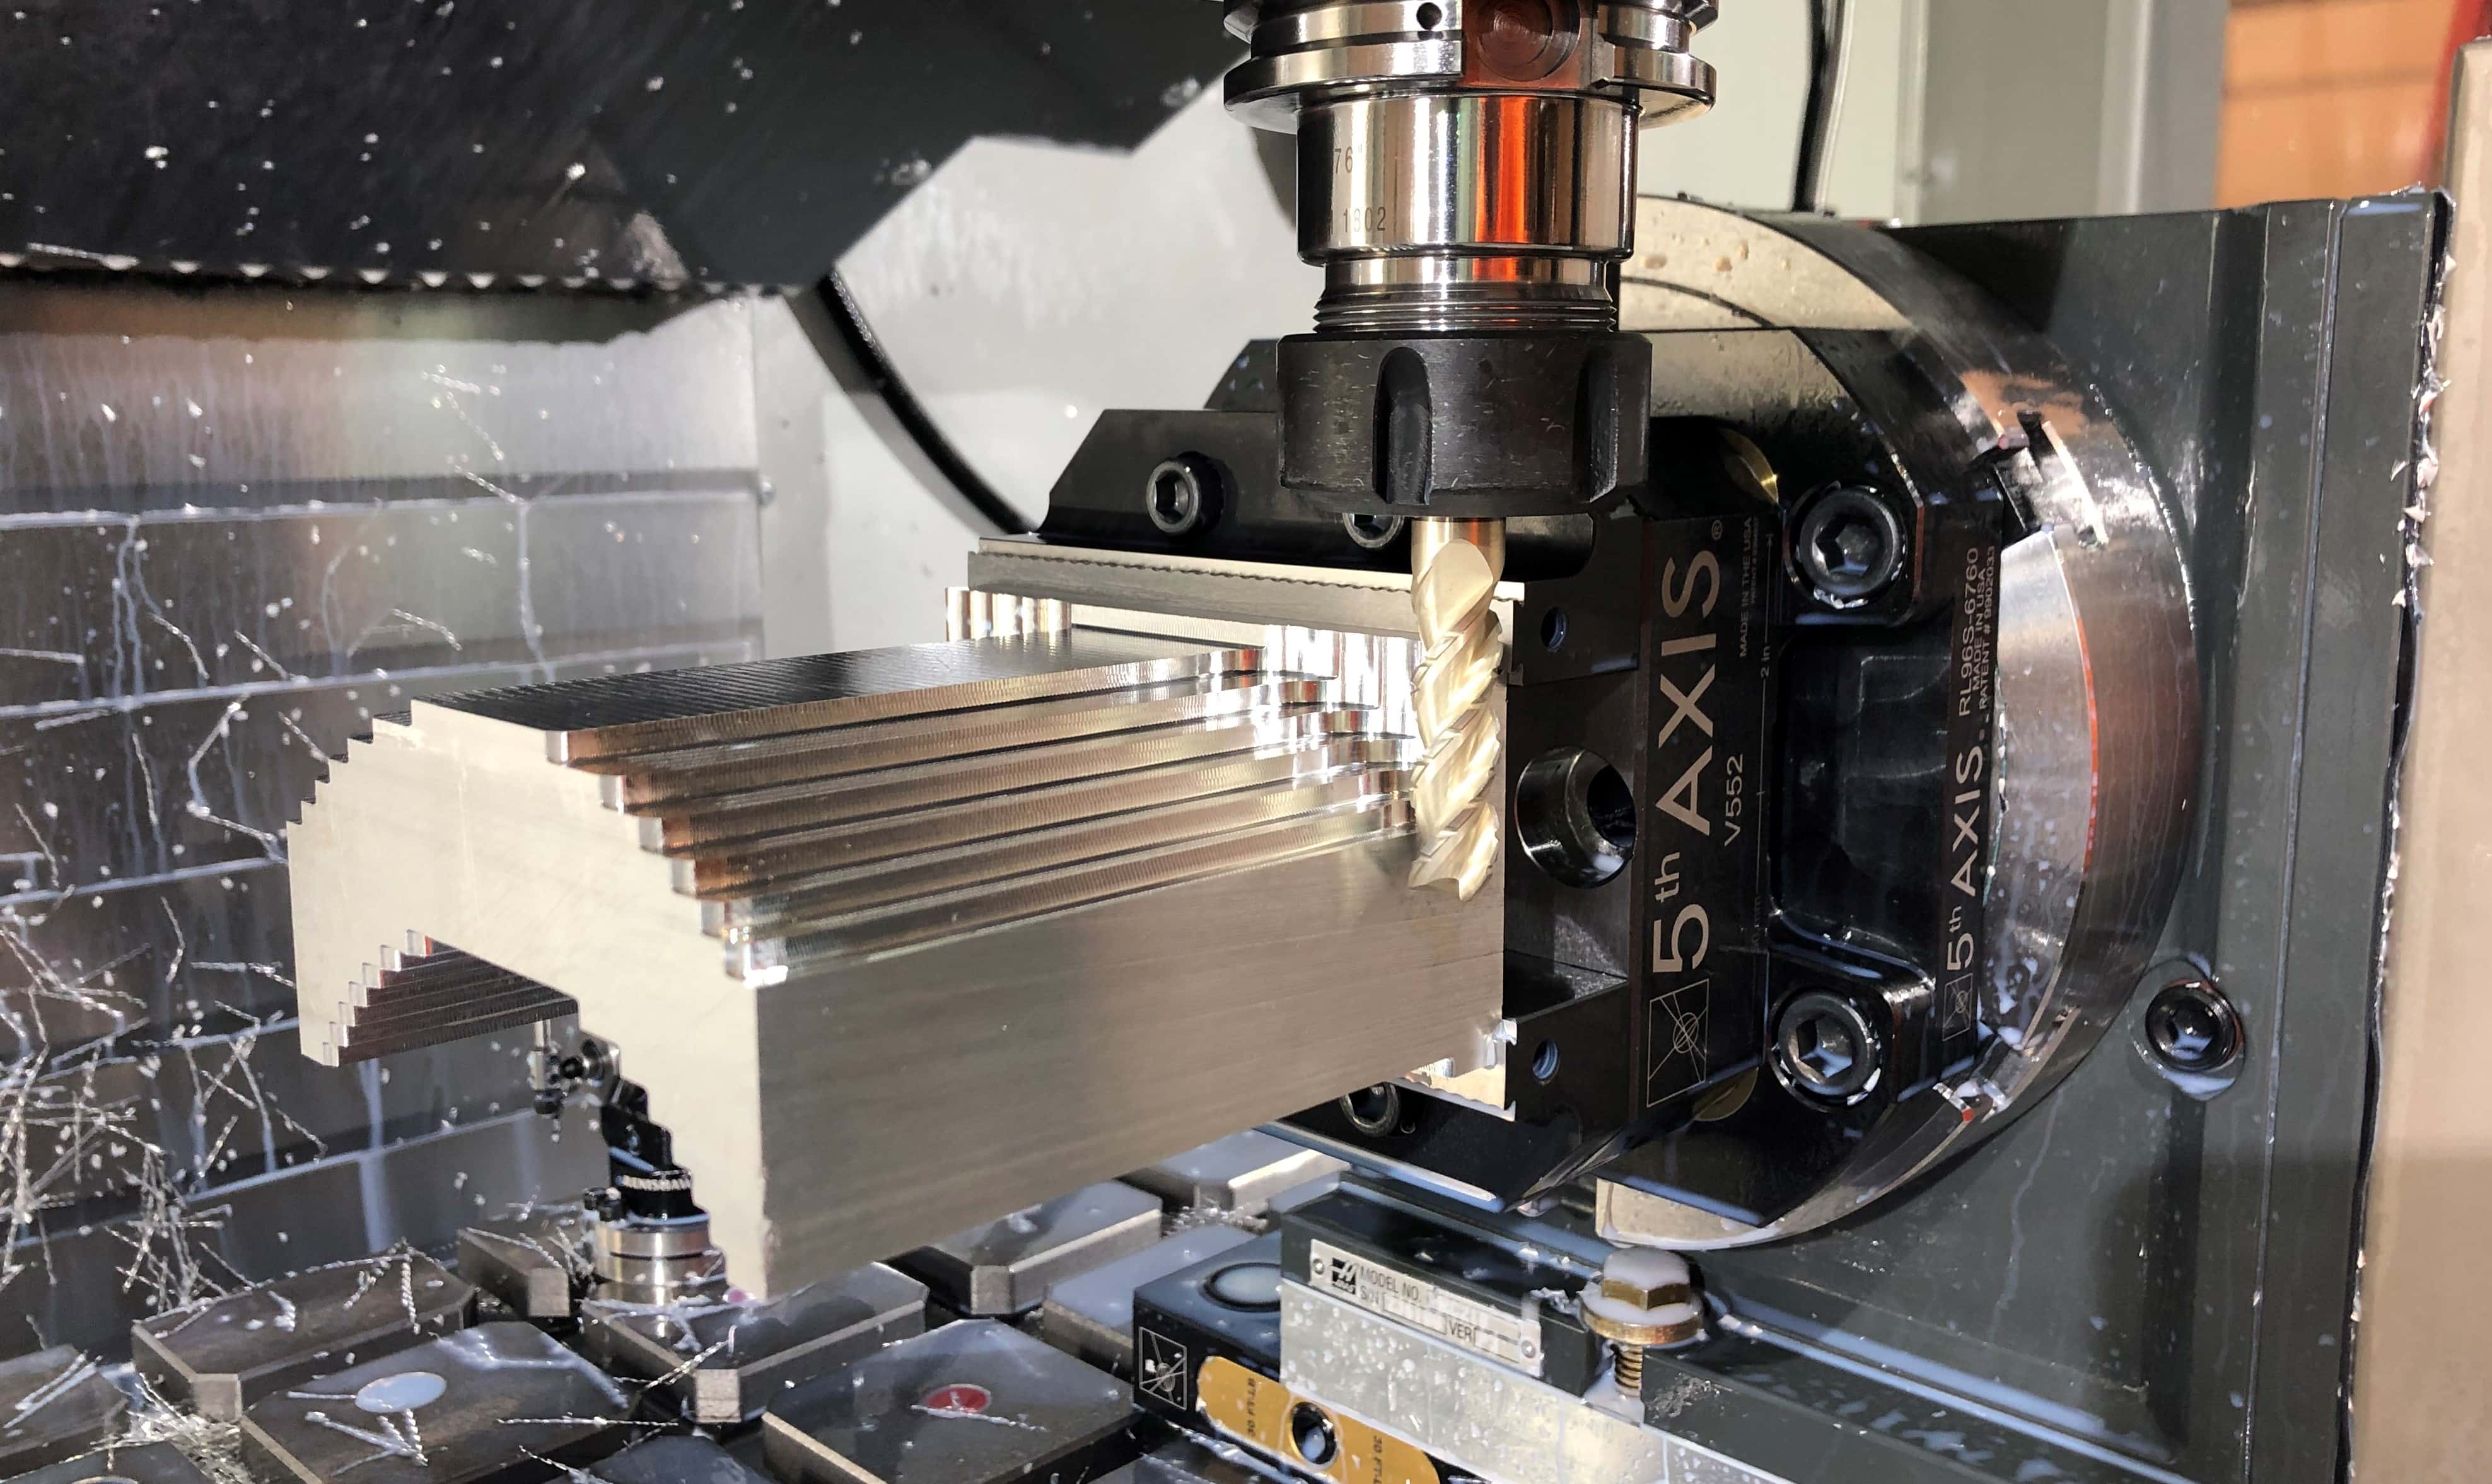
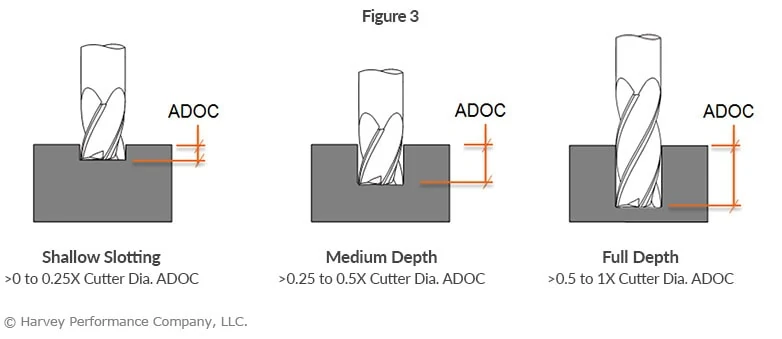
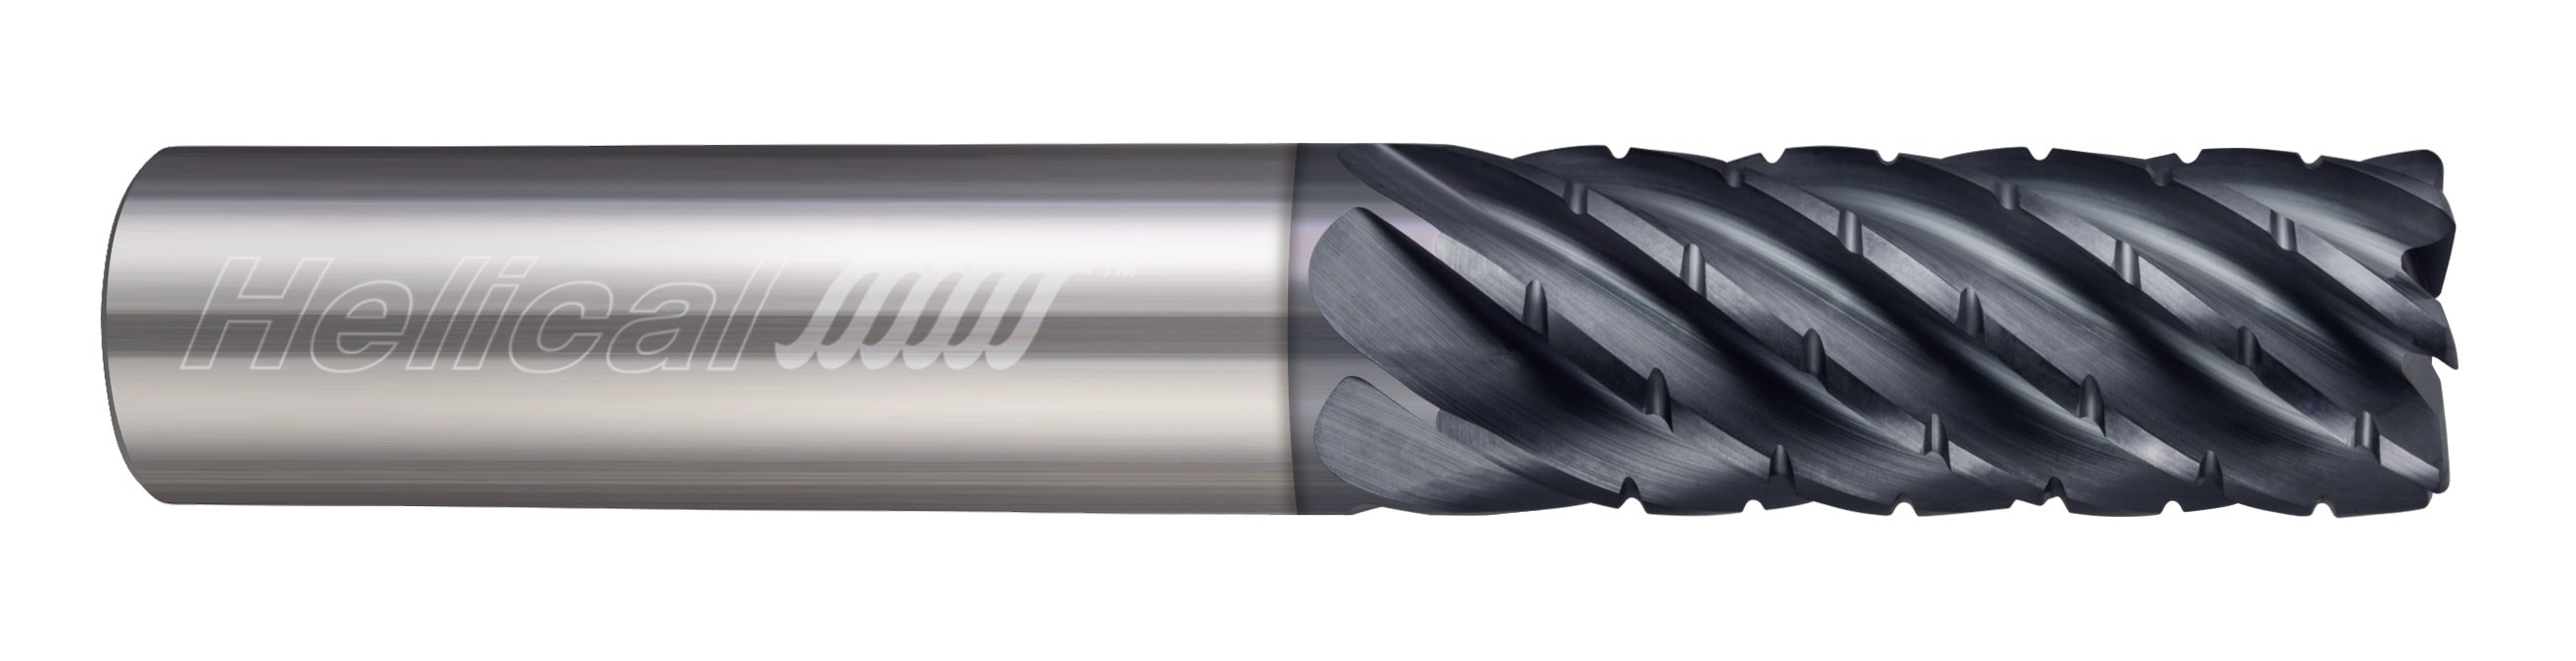
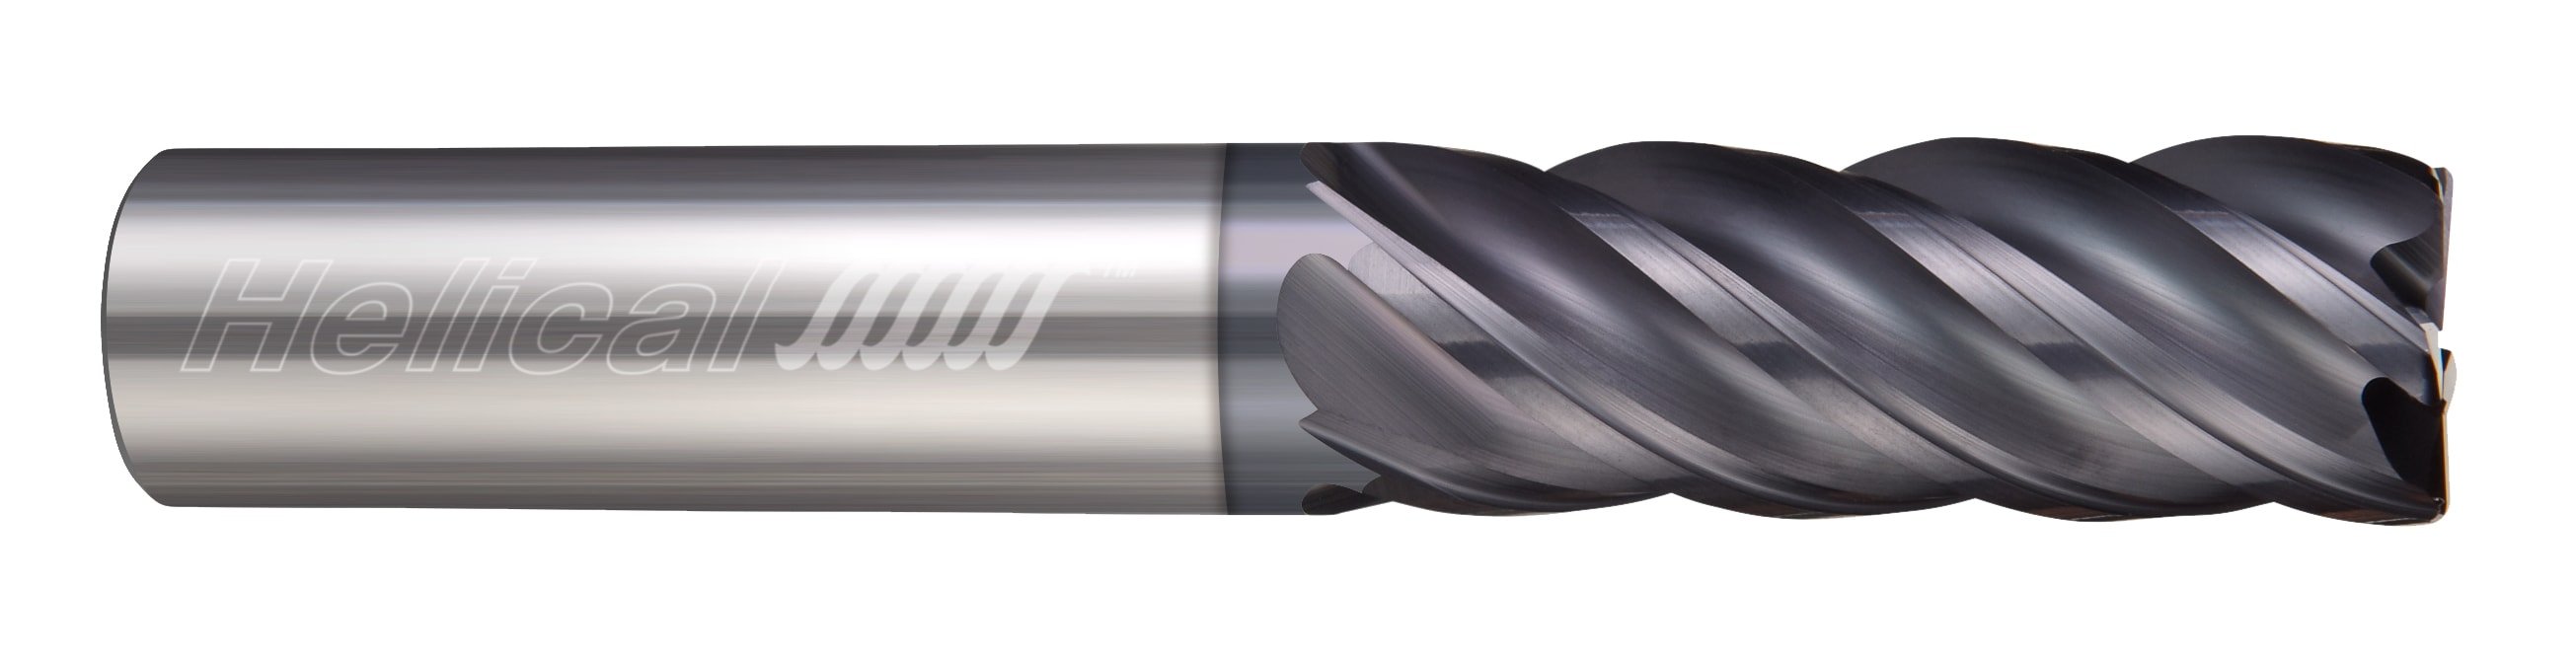
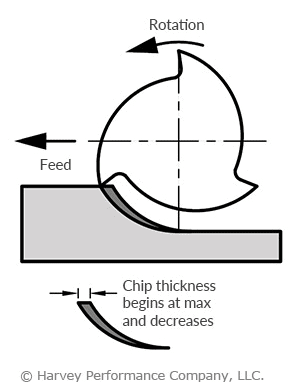
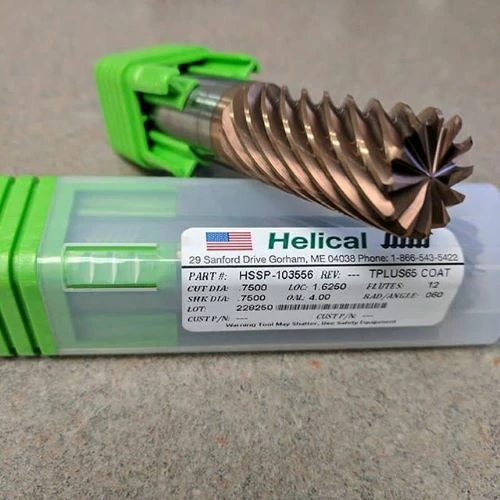
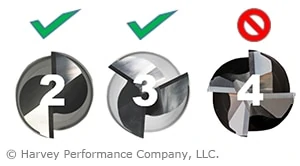
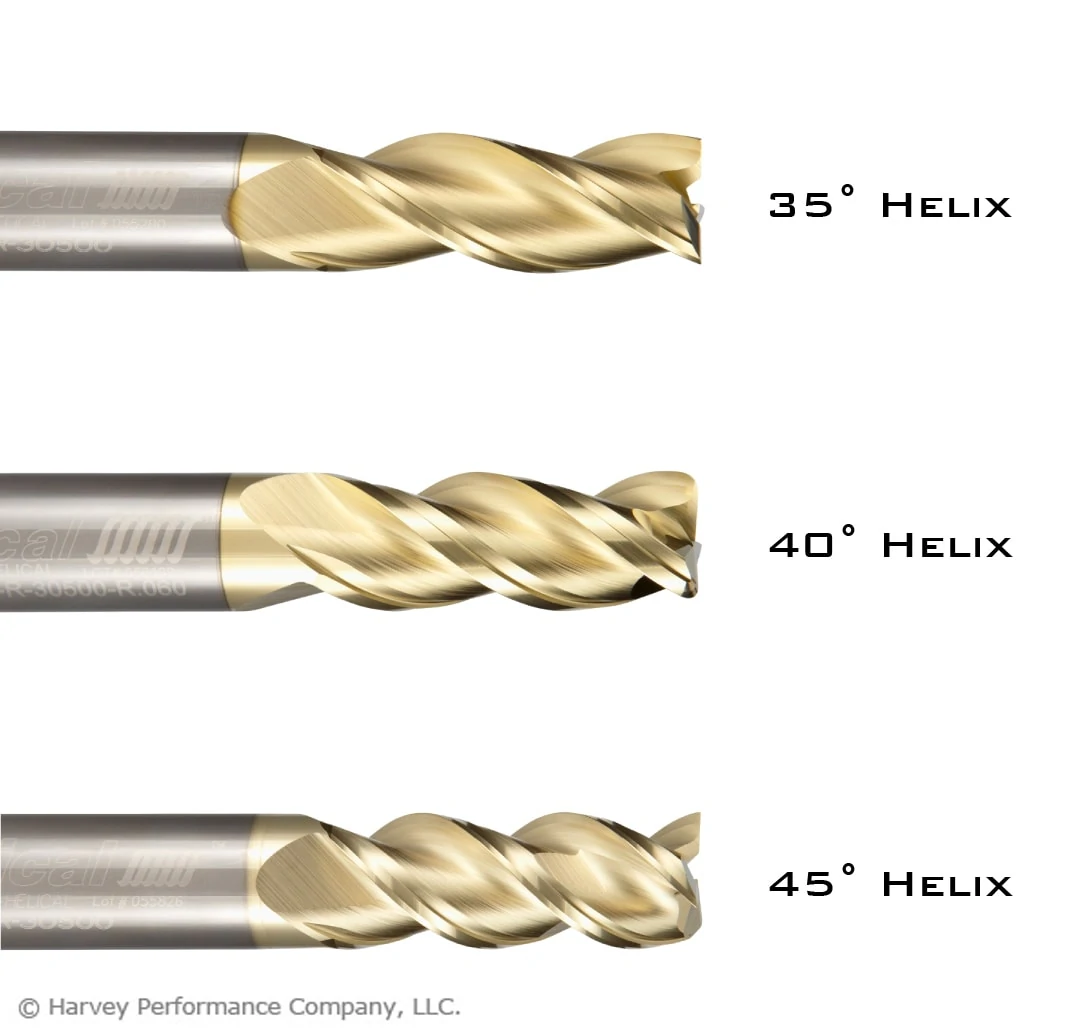
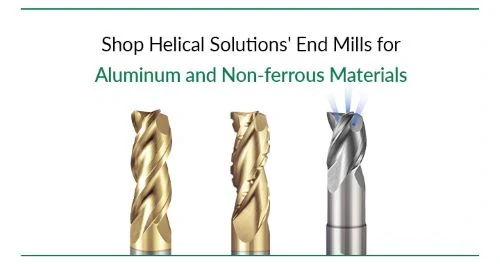
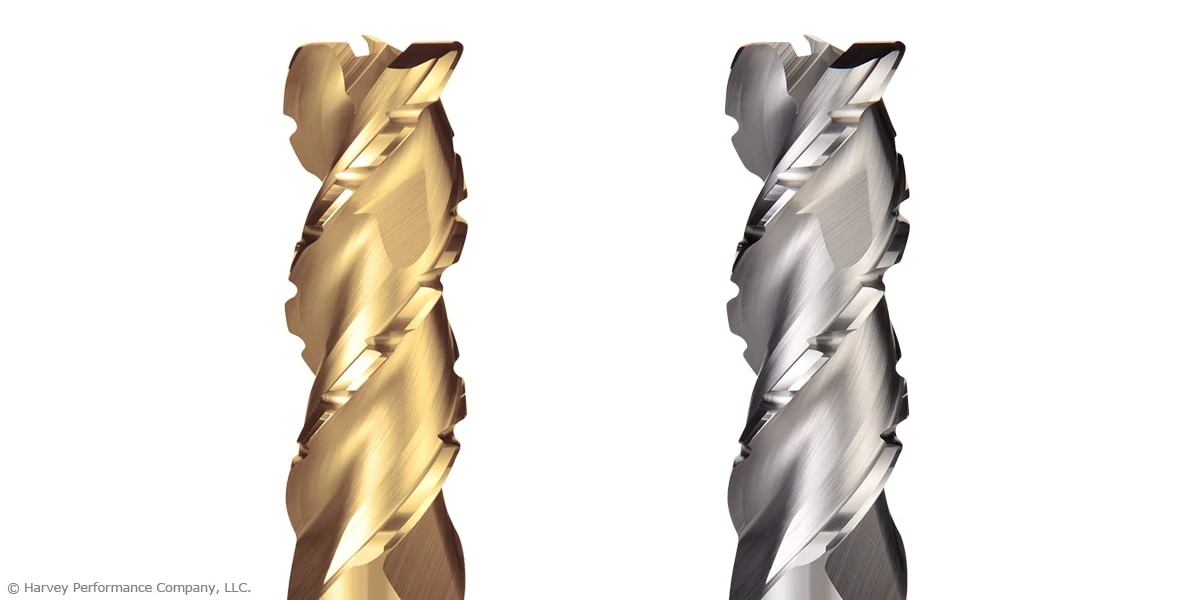
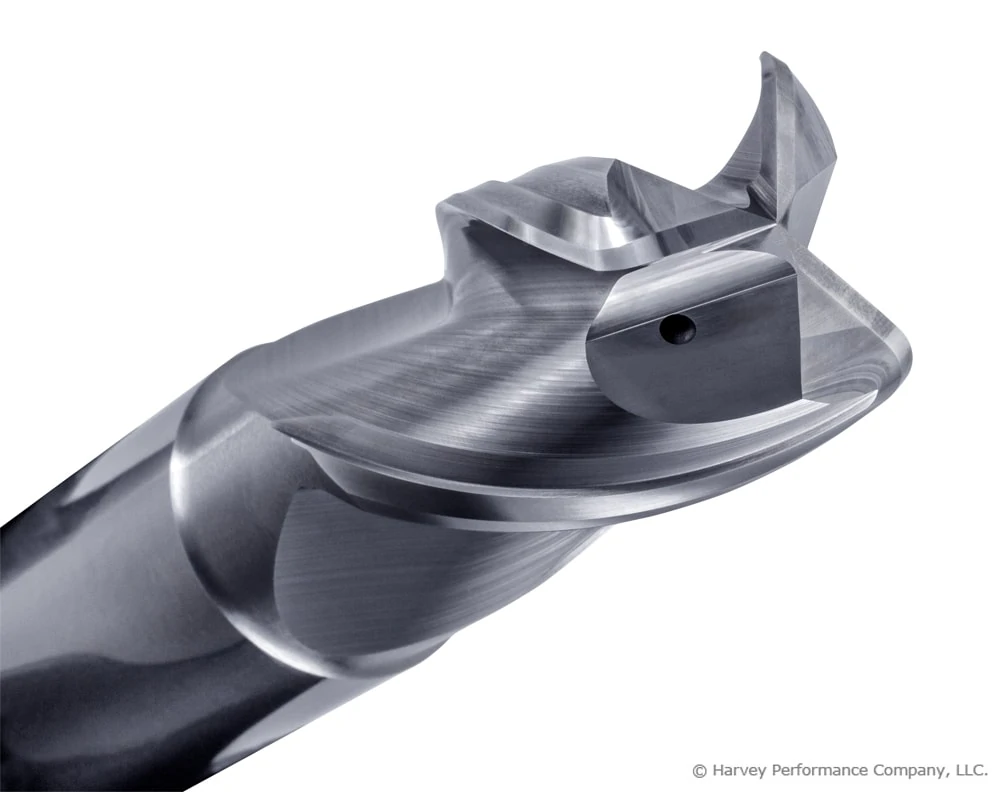
Geordan: The Helical Chipbreaker End Mill for Aluminum is key for making our vise handles. We use the ½” end mill and run it at 10k RPM, 300 IPM with a .700” DOC and 40% stepover. We can push those tools harder than others while also maintaining our product’s quality. We also rely heavily on Helical’s HEV-5 for our steel applications.
One of our favorite and most-used tools is the Harvey Tool 90 Degree Helically Fluted Chamfer Mill. We use the 3-flute style on everything that isn’t Aluminum because we can simply push it faster and harder than anything else that we have tried.
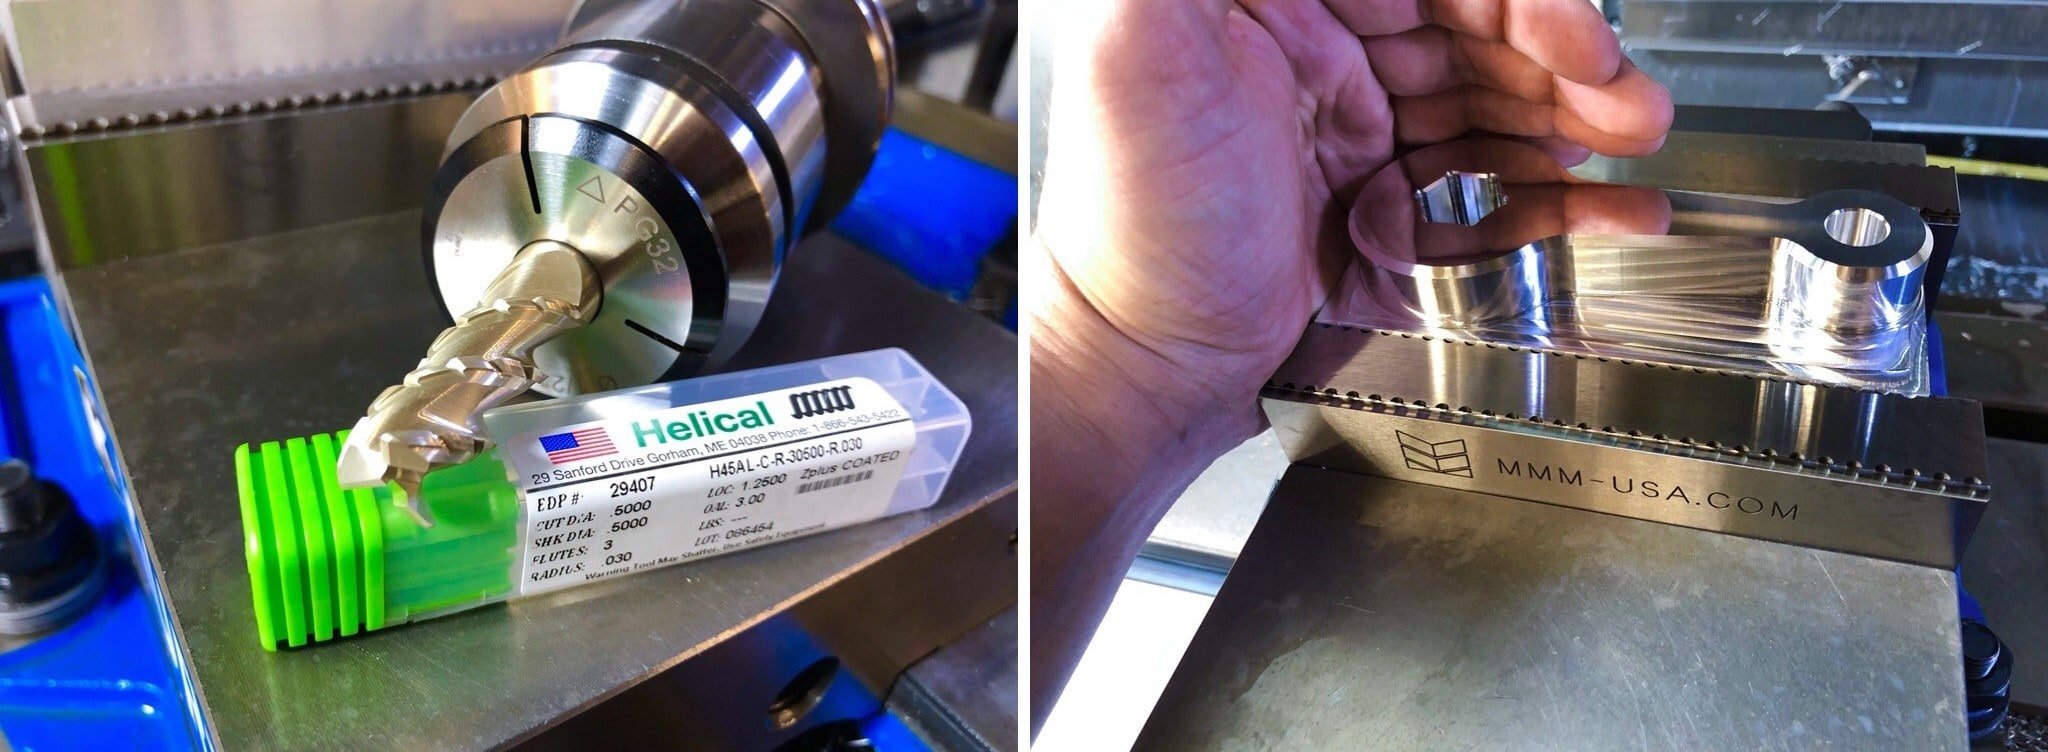
Photo Courtesy of: MMM USA
Nace: We actually keep a ton of other Harvey Tool and Helical products in our Autocrib. It made sense for us to get an inventory system, and we got a great deal on a system during the recession. Industrial Mill & Maintenance Supply got us hooked up with an Autocrib and a ton of tools, and they have been great at supplying it whenever we need more. It has helped a lot having an inventory system like that. It is reassuring to know that we have the best tools ready on hand so we can eliminate any potential downtime.
Master Machine is everywhere in the online machining community, specifically on Instagram. How has online marketing and social media changed the way you promote your business?
Geordan: Most people who run businesses seem to just hope that the word of mouth gets out there, or they have a website and hope it just goes viral one day and gets some attention. With the way the Internet is so crowded these days, you have to do something more to stand out. On our side, we have boosted our business through the use of paid online advertising with Google, boosting our SEO (Search Engine Optimization) to rank higher in search results, and being heavy users of social media like Instagram.
When I started the Master Machine Instagram account, I was really just using it to see what other machinists were doing. It was actually only a personal account for my use. I was skeptical of Instagram because of the Facebook community of machinists. I always viewed Facebook as a little more negative and less productive, while the Instagram community was much more collaborative.
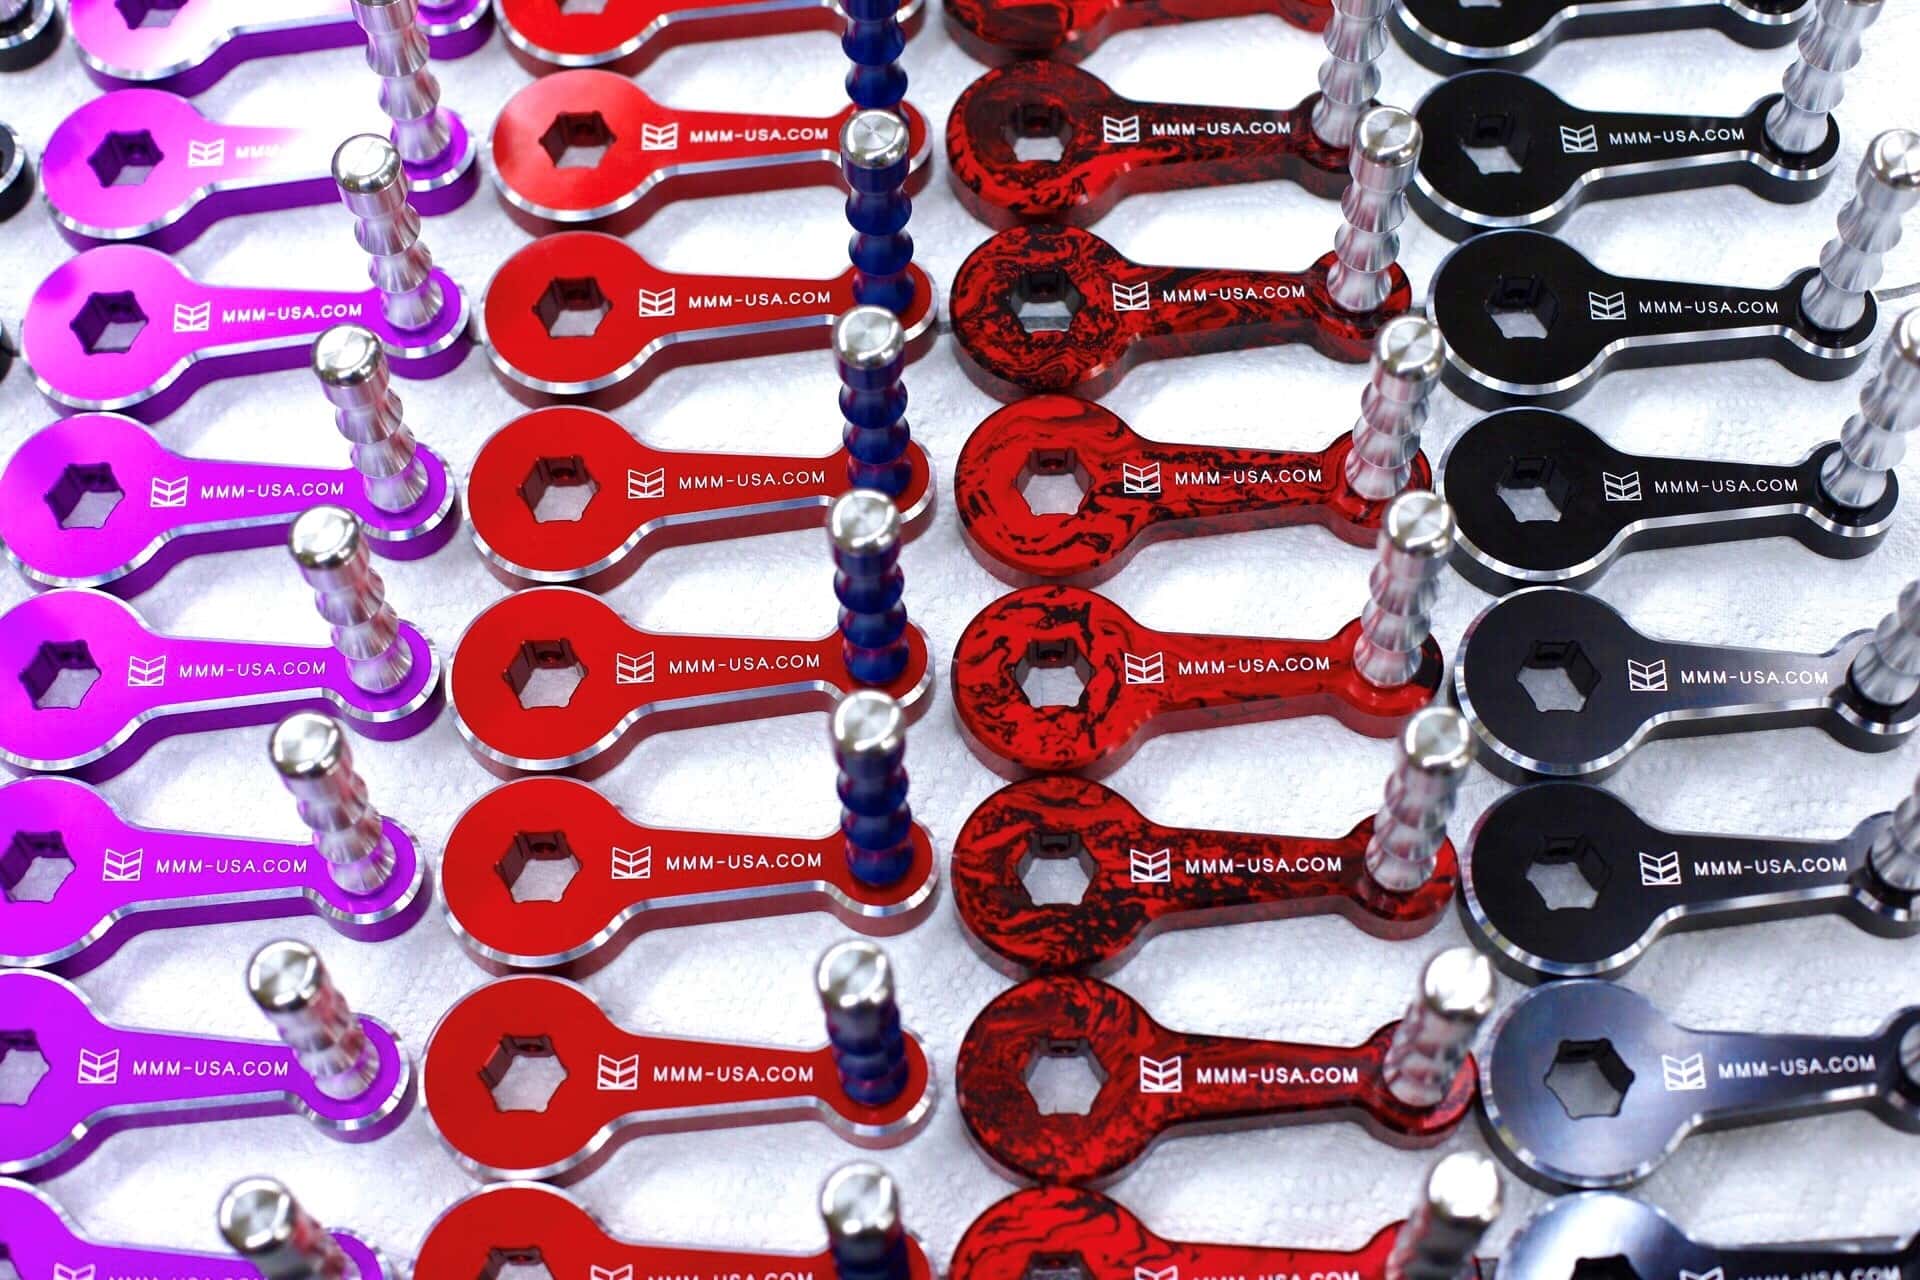
Photo Courtesy of: MMM USA
I started by following people like Aeroknox, Kalpay, John Saunders, Bad Ass Machinists, and Tactical Keychains. I immediately noticed how helpful everyone was. I started posting as a business just about 2 years ago, when I posted our first version of the vise handles. Almost immediately people started asking to buy them. We were blown away by the response.
We didn’t set out to create something new with these handles, but by getting our name out there and filling a need for people following us, the hype continued to grow and grow and grow. Instagram has been a great tool for that aspect of the business, especially. We now have around 15 distributors across the US who are carrying our products, and are getting some great momentum. We also sell a lot of our products direct on our website, and 99% of that probably comes through Instagram.
Nace: We have actually landed distributors through someone following us online and going to their integrated distributor asking for our products. The distributor then called us and asked if they could carry our product on their shelves. Other online connections have also helped us land distributors through simple messages and phone calls.
Where do you see MMM USA in 10 years?
Nace: That’s a tough question…
At the shop, we always stress four major actions: Define, Act, Measure, and Refine. In our eyes, there are always better ways to do things and improve our processes. We hire people to have a growth mindset, and so we are redefining our future every day through our continual improvement process. We strive to always have that growth mindset to figure out how to do a job more efficiently. With constant improvement always taking place, it is hard to nail down exactly where the shop will be in 10 years, 5 years, or even 1 year from now. One thing is for sure – we will be successful.
Geordan: Something we do want to focus on is creating new assets, exploring new ventures, and doubling in size every year. We want to continue to release new products to build out our own product line and have MMM USA distributors worldwide.
Back in the day, Kurt Workholding was just a job shop, and now they are one of the most recognized workholding brands in the CNC machining industry. It is really hard to say where this ends or goes, but we think we have a bright future as both a job shop and as a supplier of our own OEM products for manufacturing.
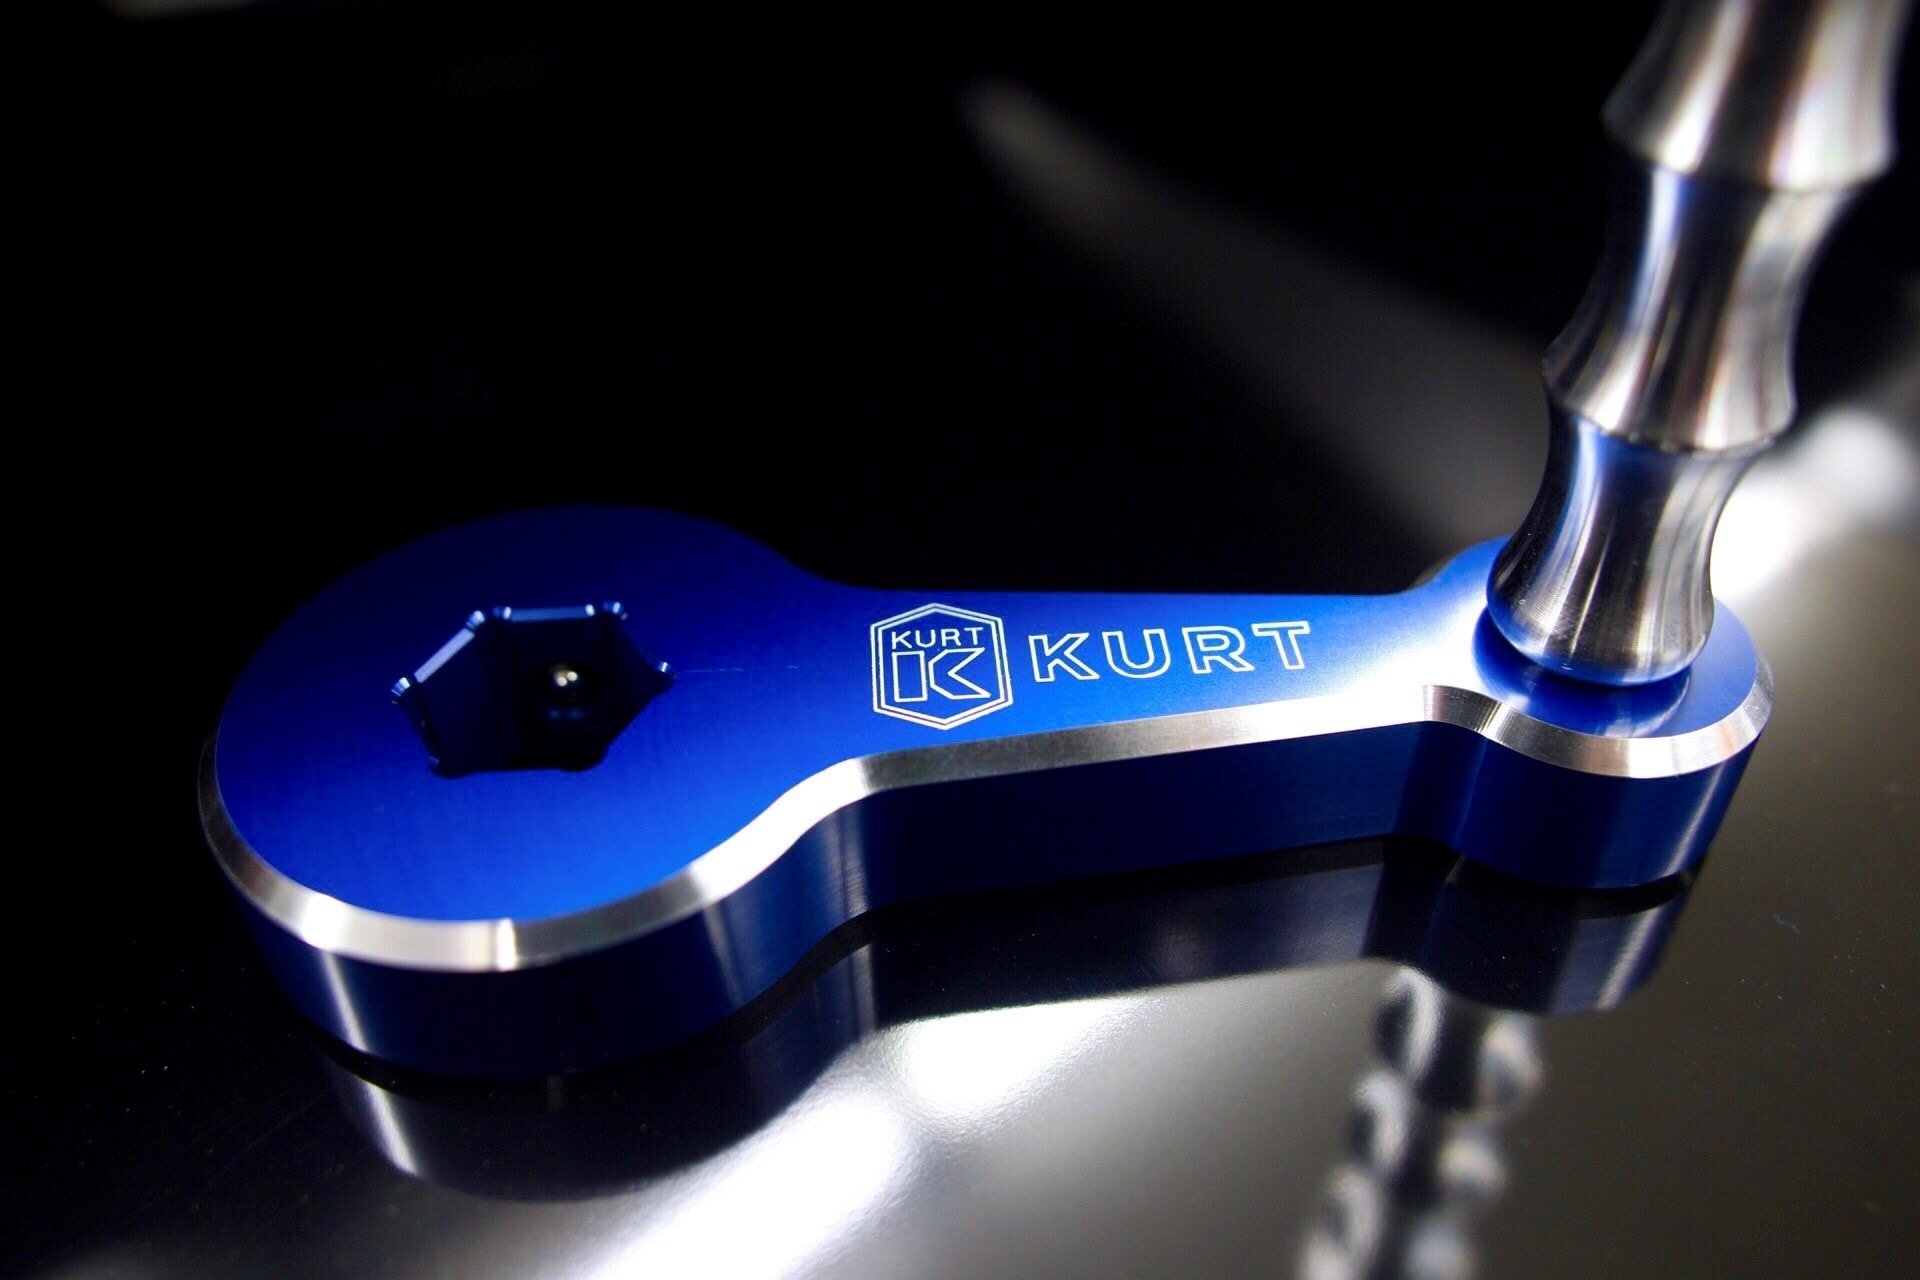
Photo Courtesy of: MMM USA
Are you currently hiring new machinists? If so, what qualities and skills do you look for?
Geordan: Every Tuesday we have an open interview at 4 PM. As you can imagine, with our company’s growth, we are constantly hiring. We are looking for people that are positive that have a growth mindset who can grow within the company. We always believe we can promote from within. Most of our people have been at Master Machine for 10-15 years because we can always move people up closer to the top and help them advance in their careers as we grow.
Nace: We are really focused on finding people with good attitudes, and people who want to be here. Skilled machinists are great, but they can be rare, so attitude and fitting in with the culture is huge. We can always take a good attitude and train the skill level up, but we can’t take a good skill level and change the bad attitude. We want team members who will coach each other up and help improve the team as a whole. We love working together and supporting the business together in every aspect of the business.
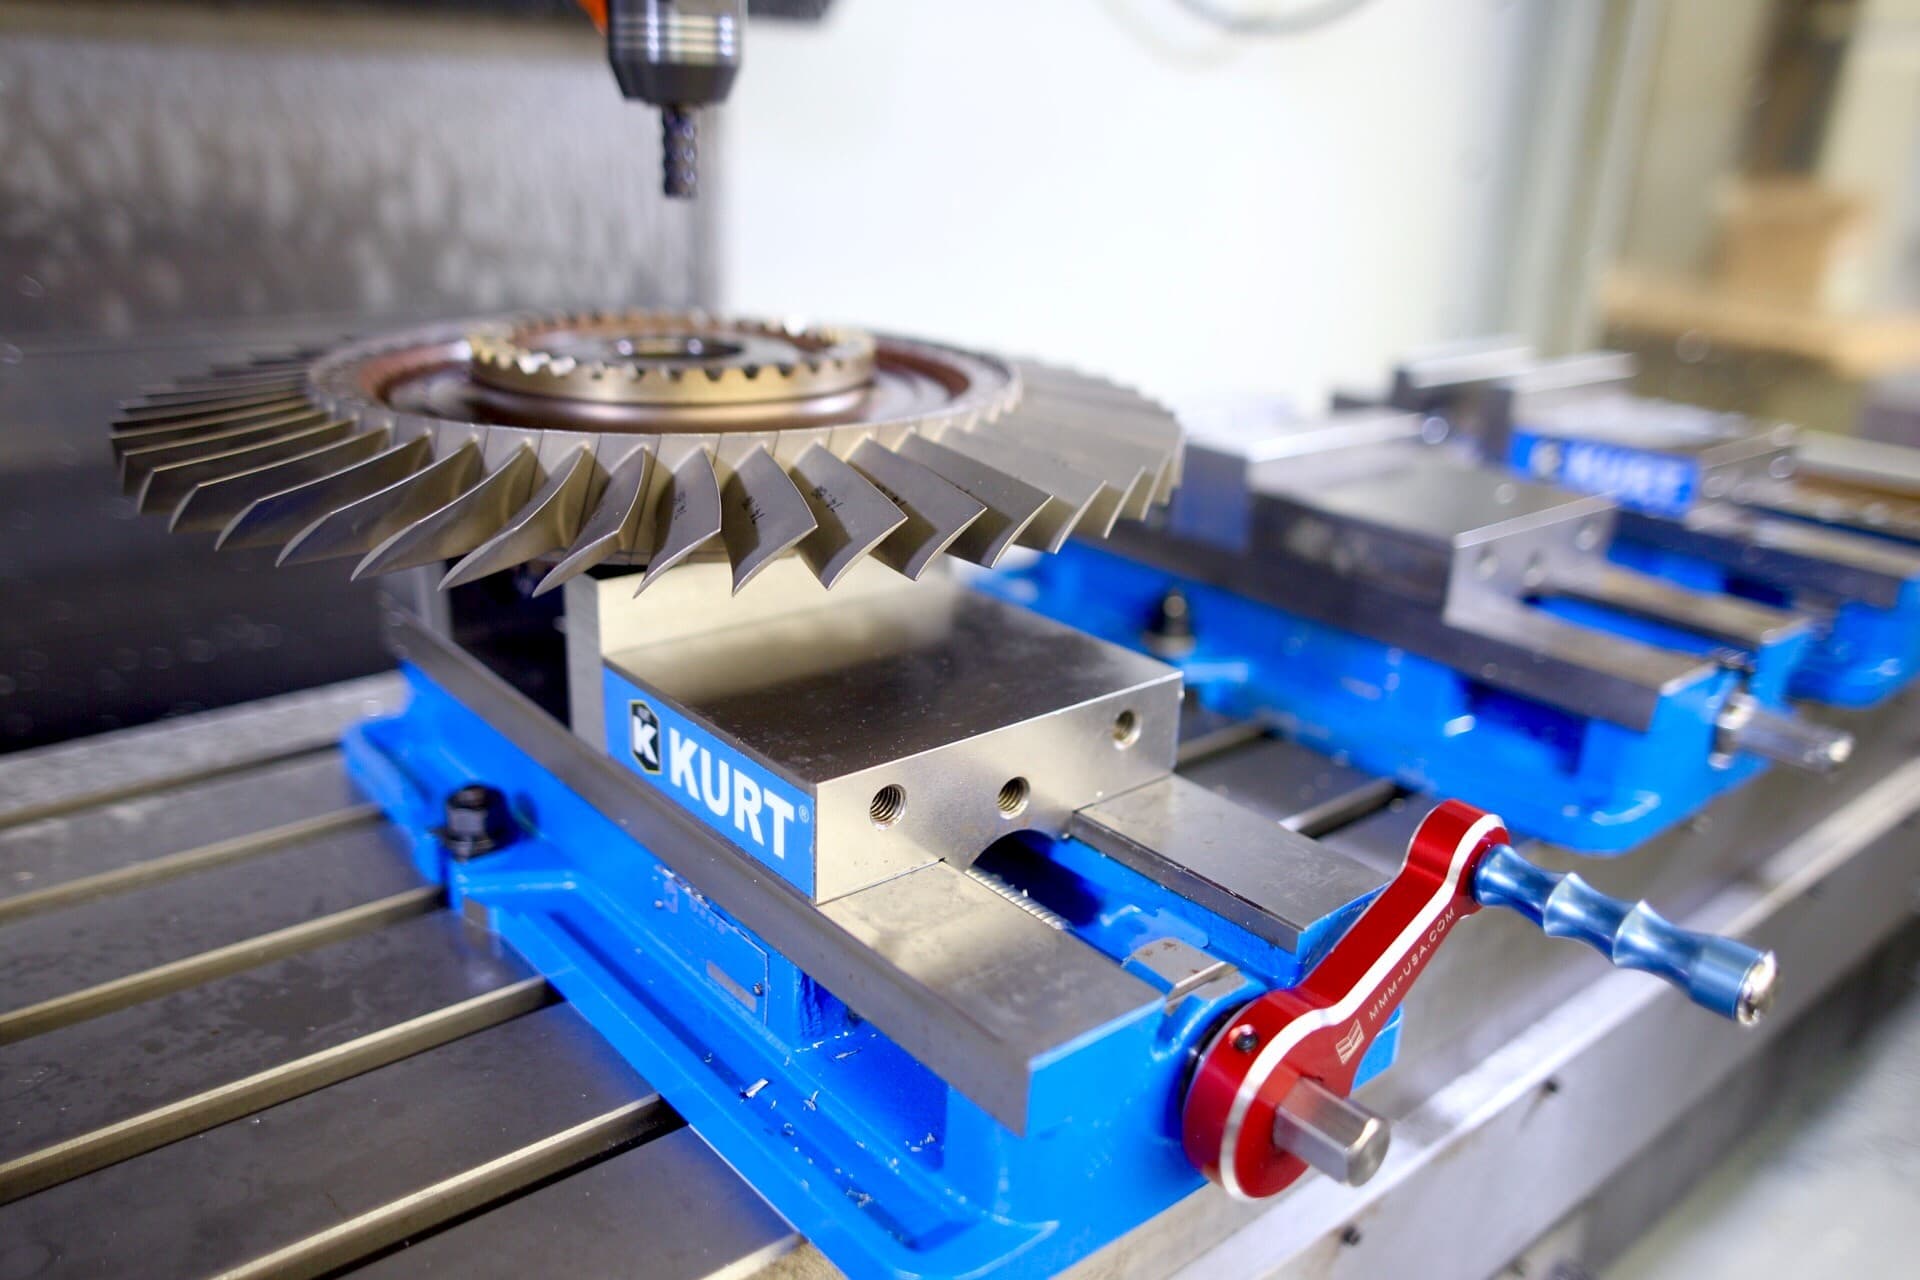
Photo Courtesy of: MMM USA
What is the best advice you have ever received?
Geordan: We really like “Notable Quotables.” Here are a couple of our favorites.
“The pen is for remembering, and the mind is for making decisions.”
We only have so much brain power to make crucial decisions, so we write all the day-to-day action items down on our checklists to make sure nothing is left undone. That frees our minds up from having to remember every little piece of the business so we can save that brain power for strategic decision making moments. We must be proactive and not reactive as we lead our team.
Nace: “Your employees want to follow someone who is always real, and not always right.”
As a leader, you need to take responsibility when you screw up, and be open with the team. Let them be a part of fixing the problem, and approach every situation looking at the positive.
Would you like to be considered for a future “Featured Customer” blog? Click here to submit your information.